

Tutorial: Embroidery Hoop Ornaments
Sep 2nd 2019
For two years now, The Classic Applique customers have loved making ornaments using embroidery hoops and TCA mini designs. So, it's about time that I finally make a tutorial on how I, personally, make these ornaments. However, as with many handmade items, there can be many different ways to go about customizing these projects, and I am simply describing how I make them. If you have had success with different stabilizer, backing, ribbons, etc, please know to keep on rockin' what you know!!
Step 1:
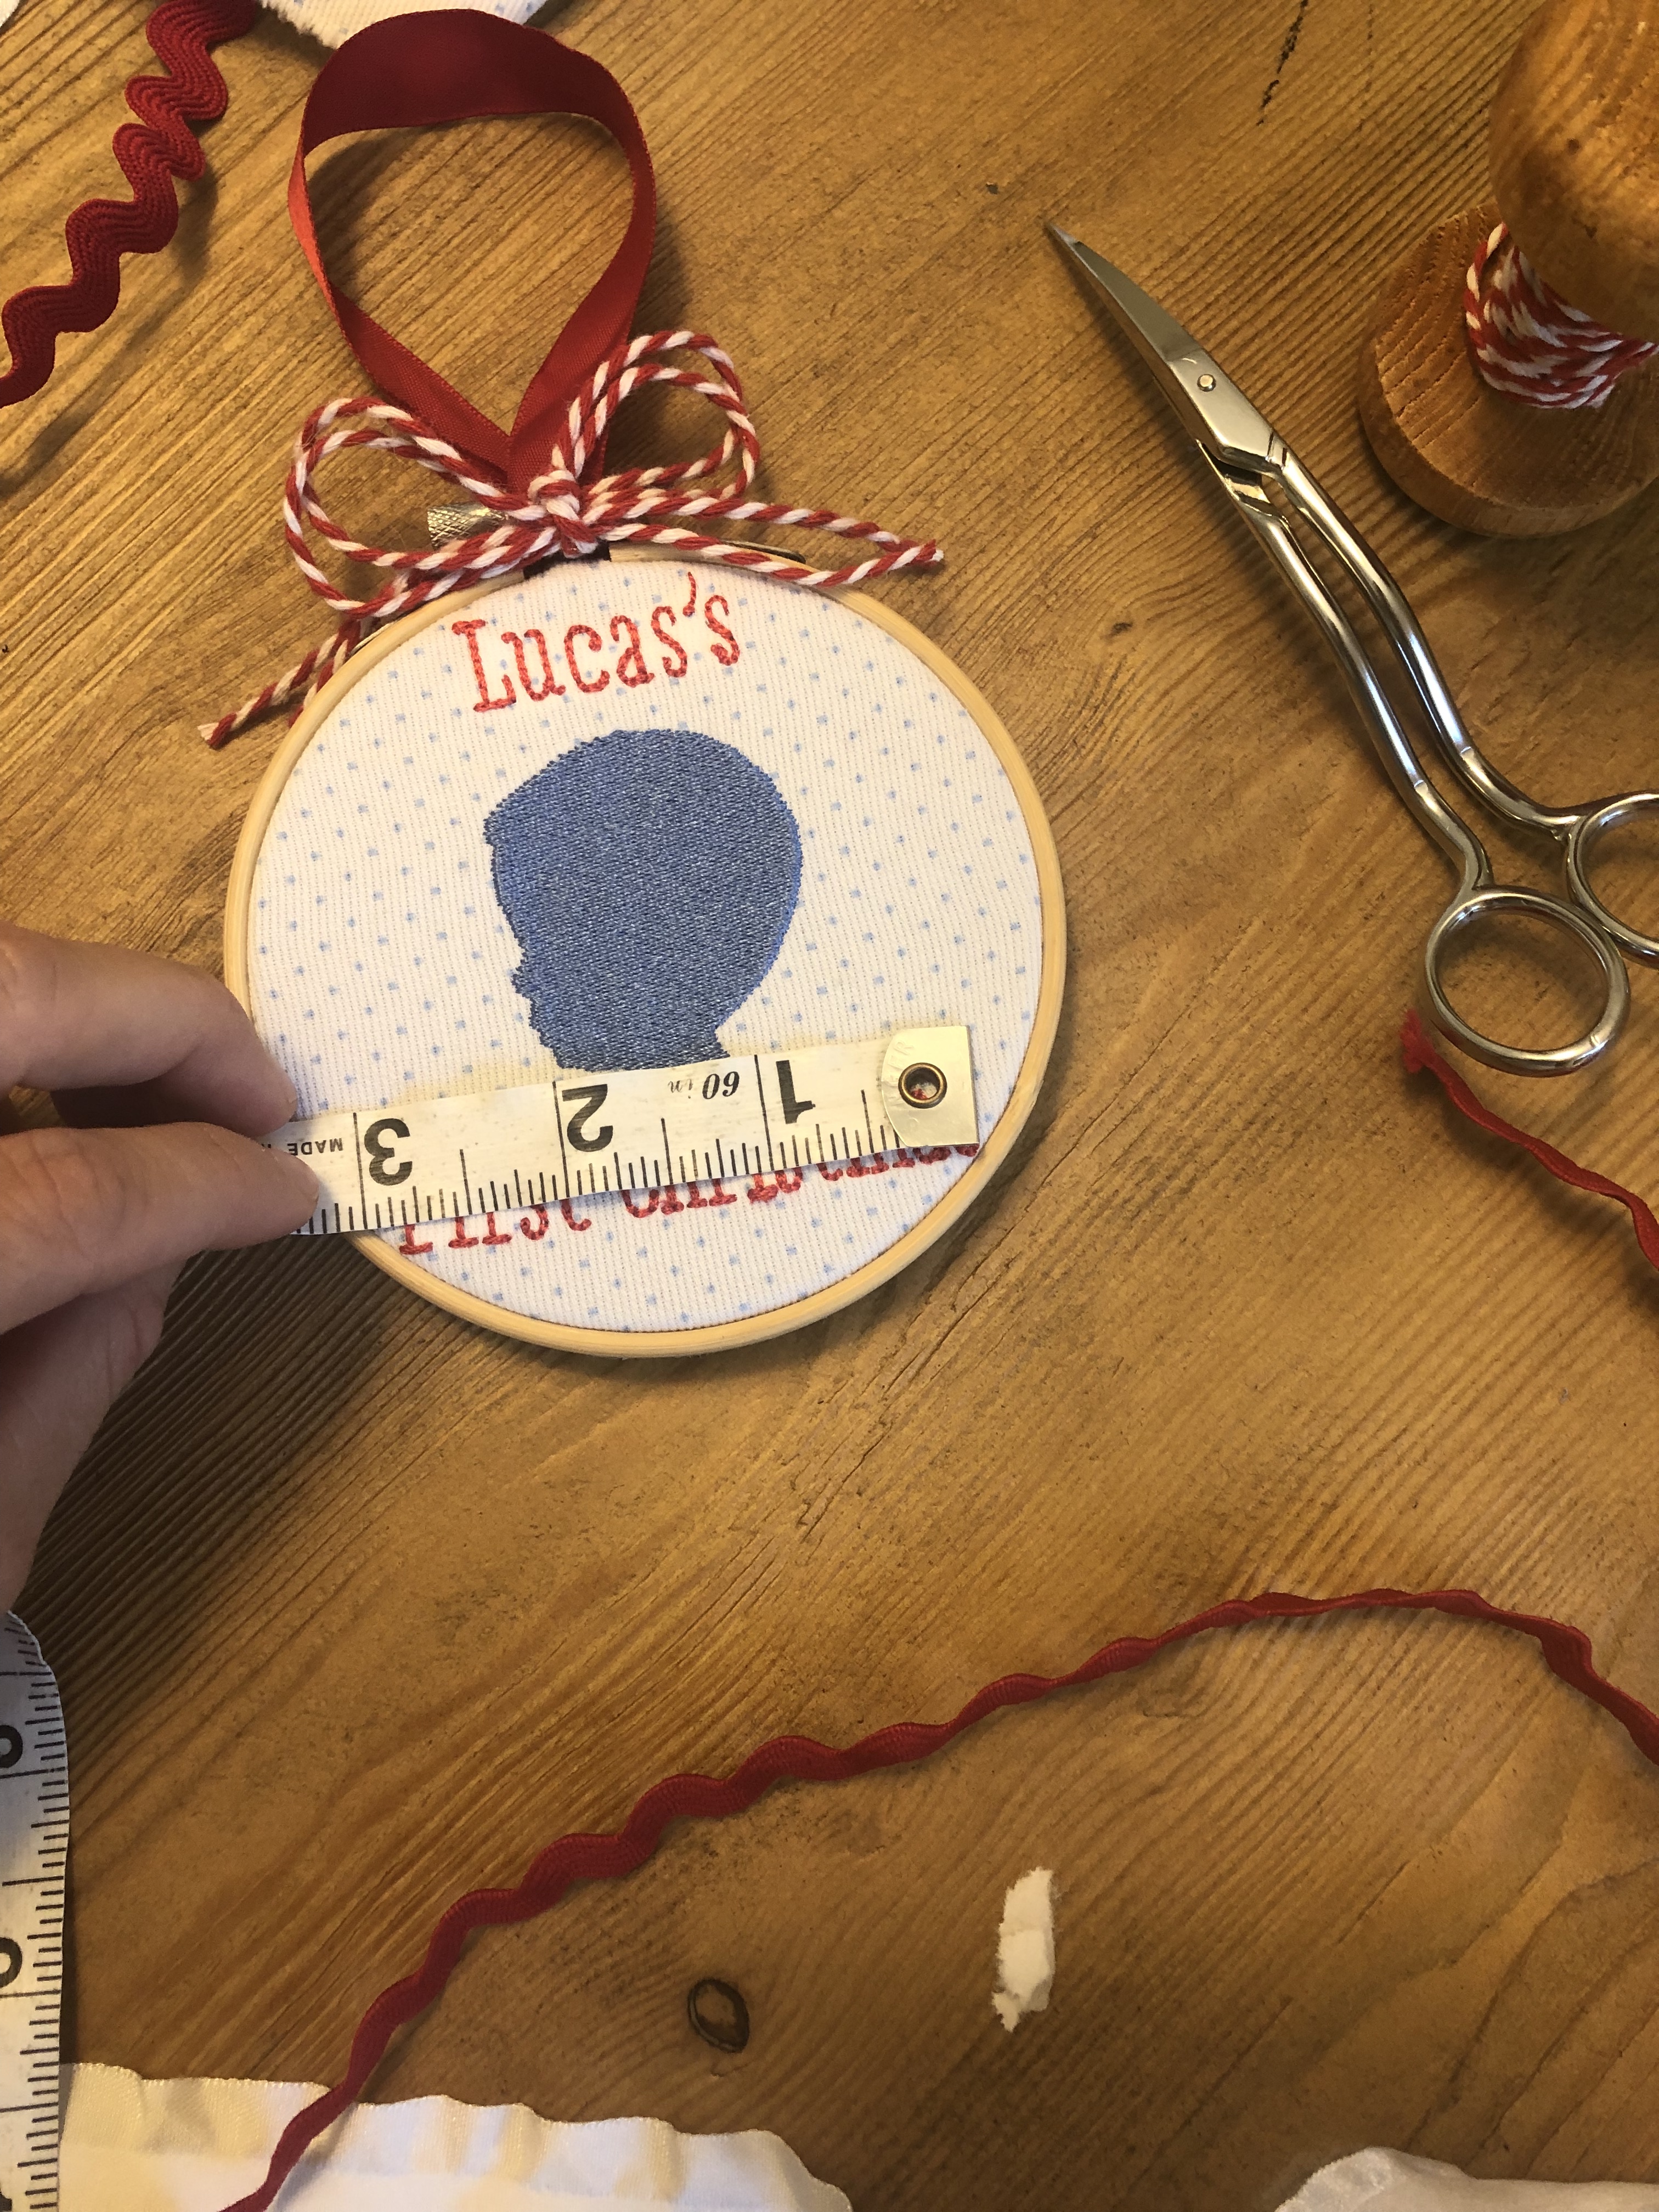
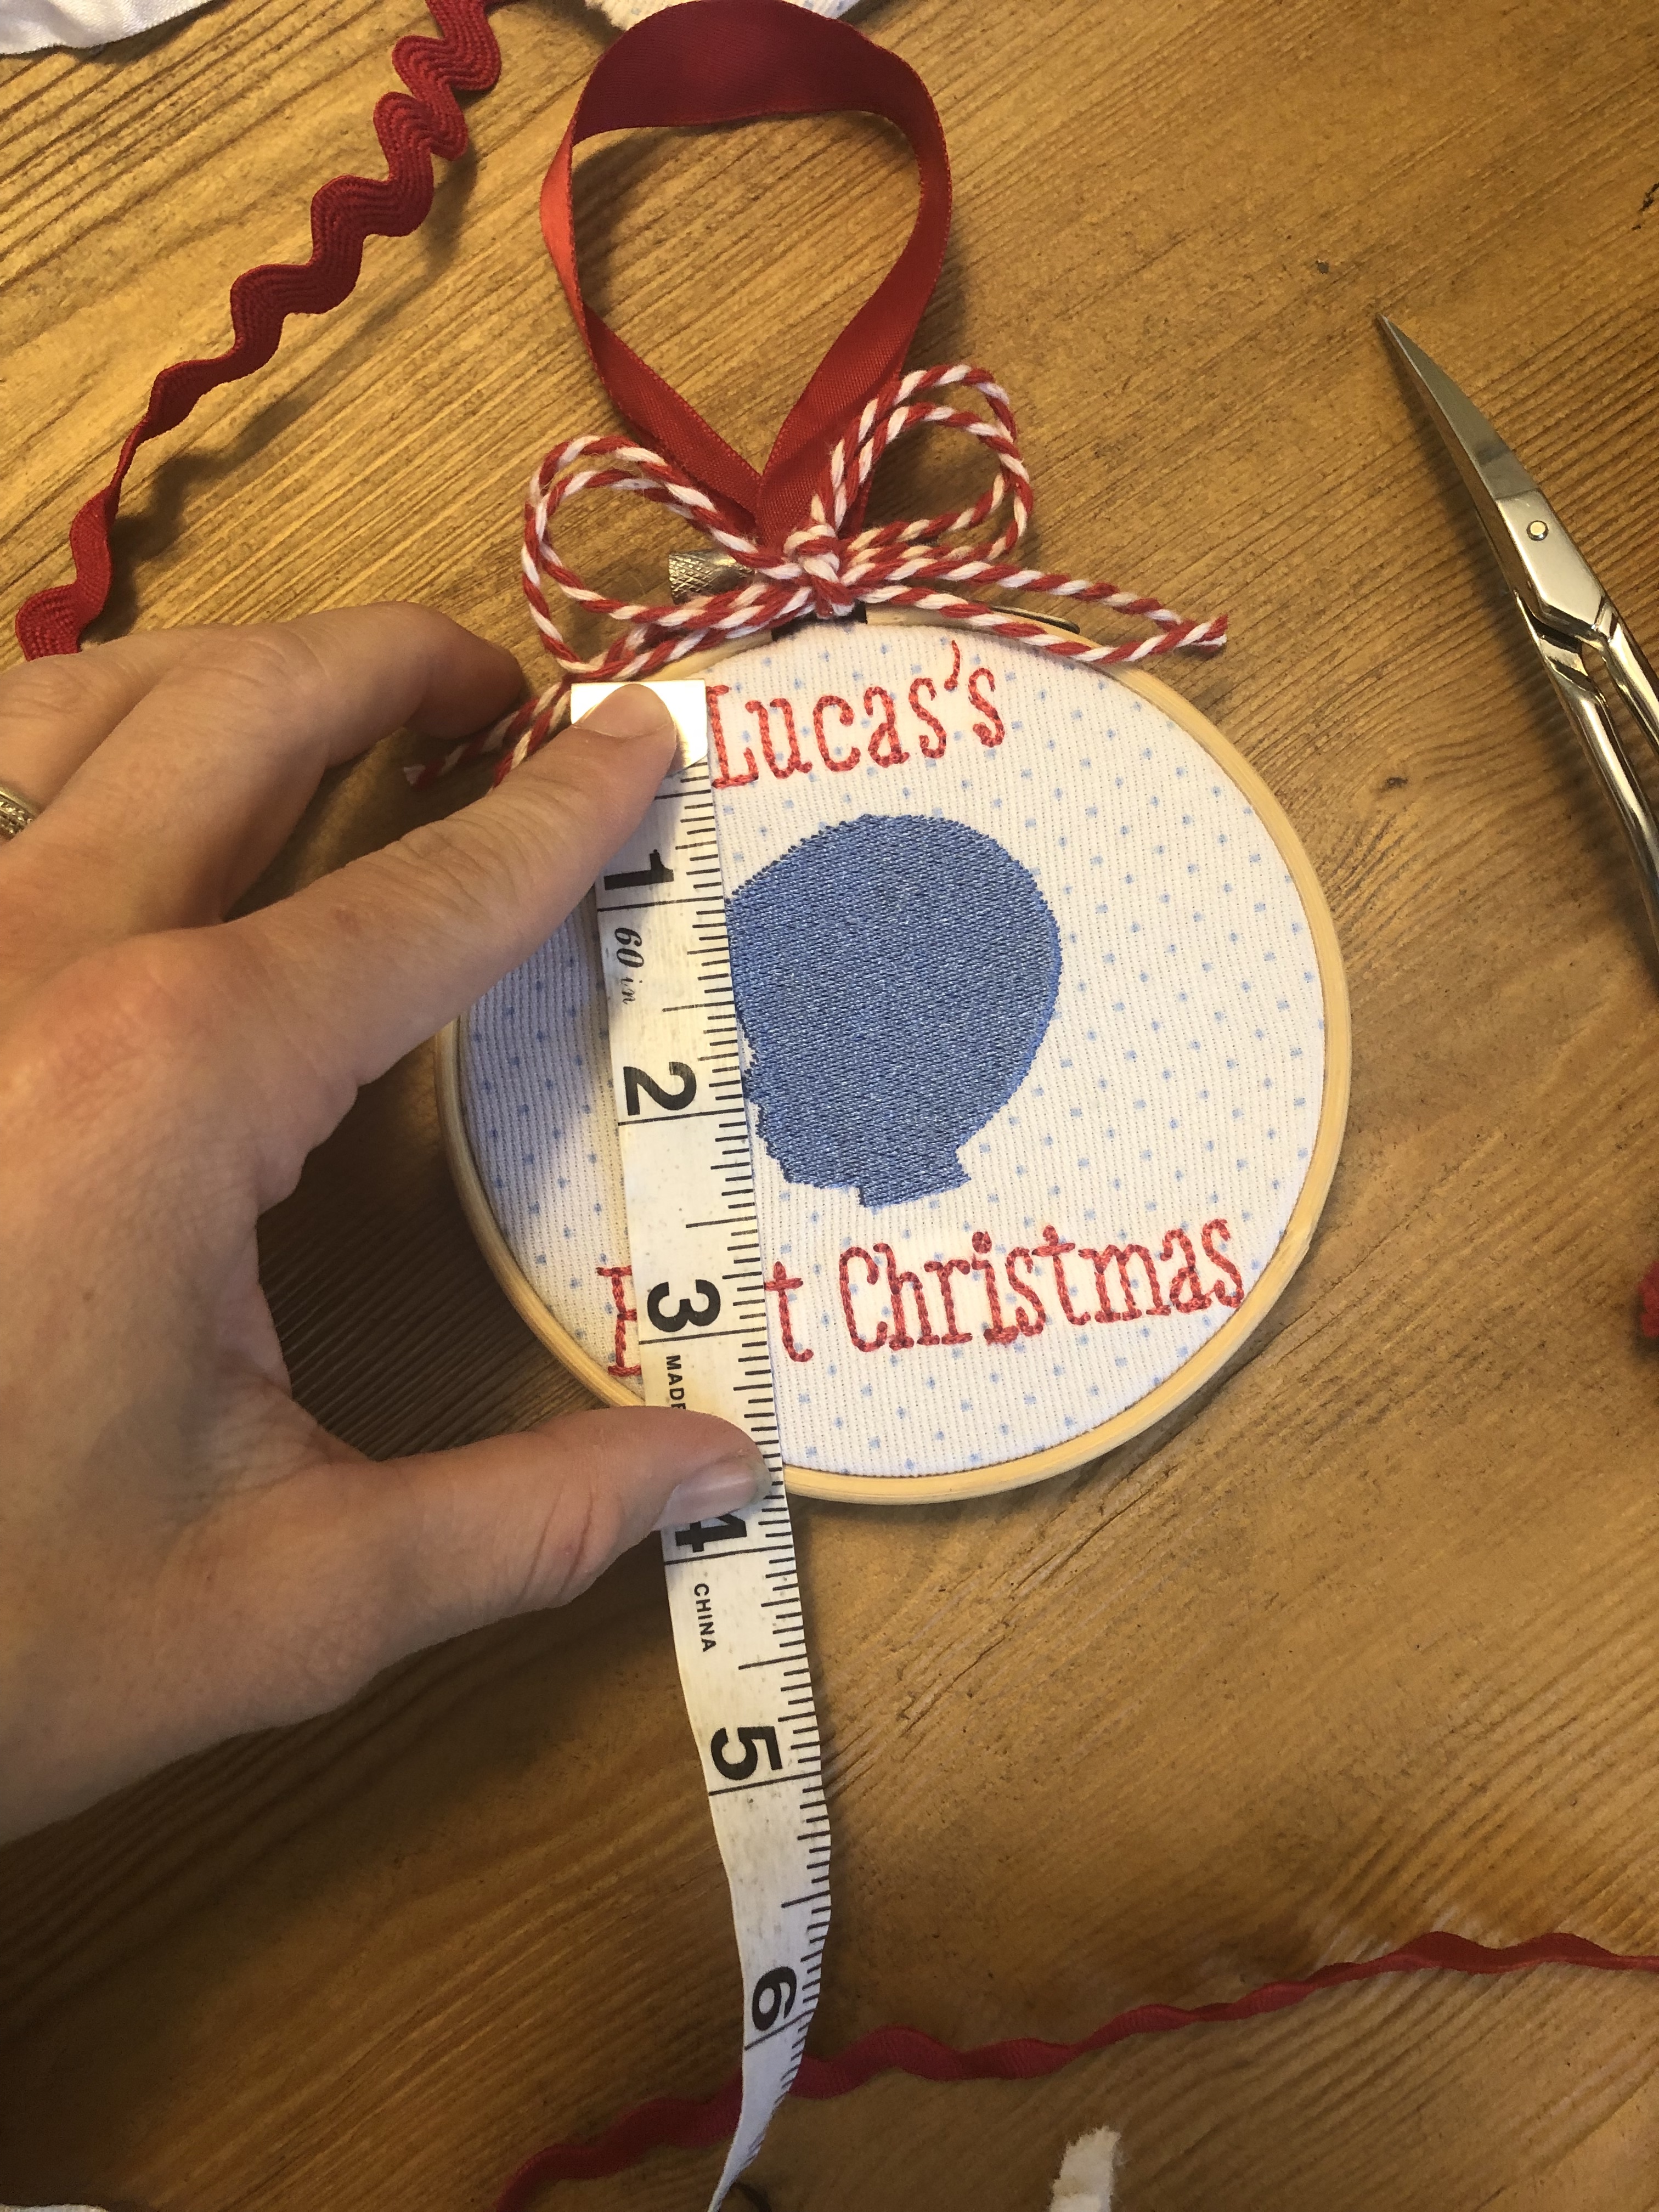
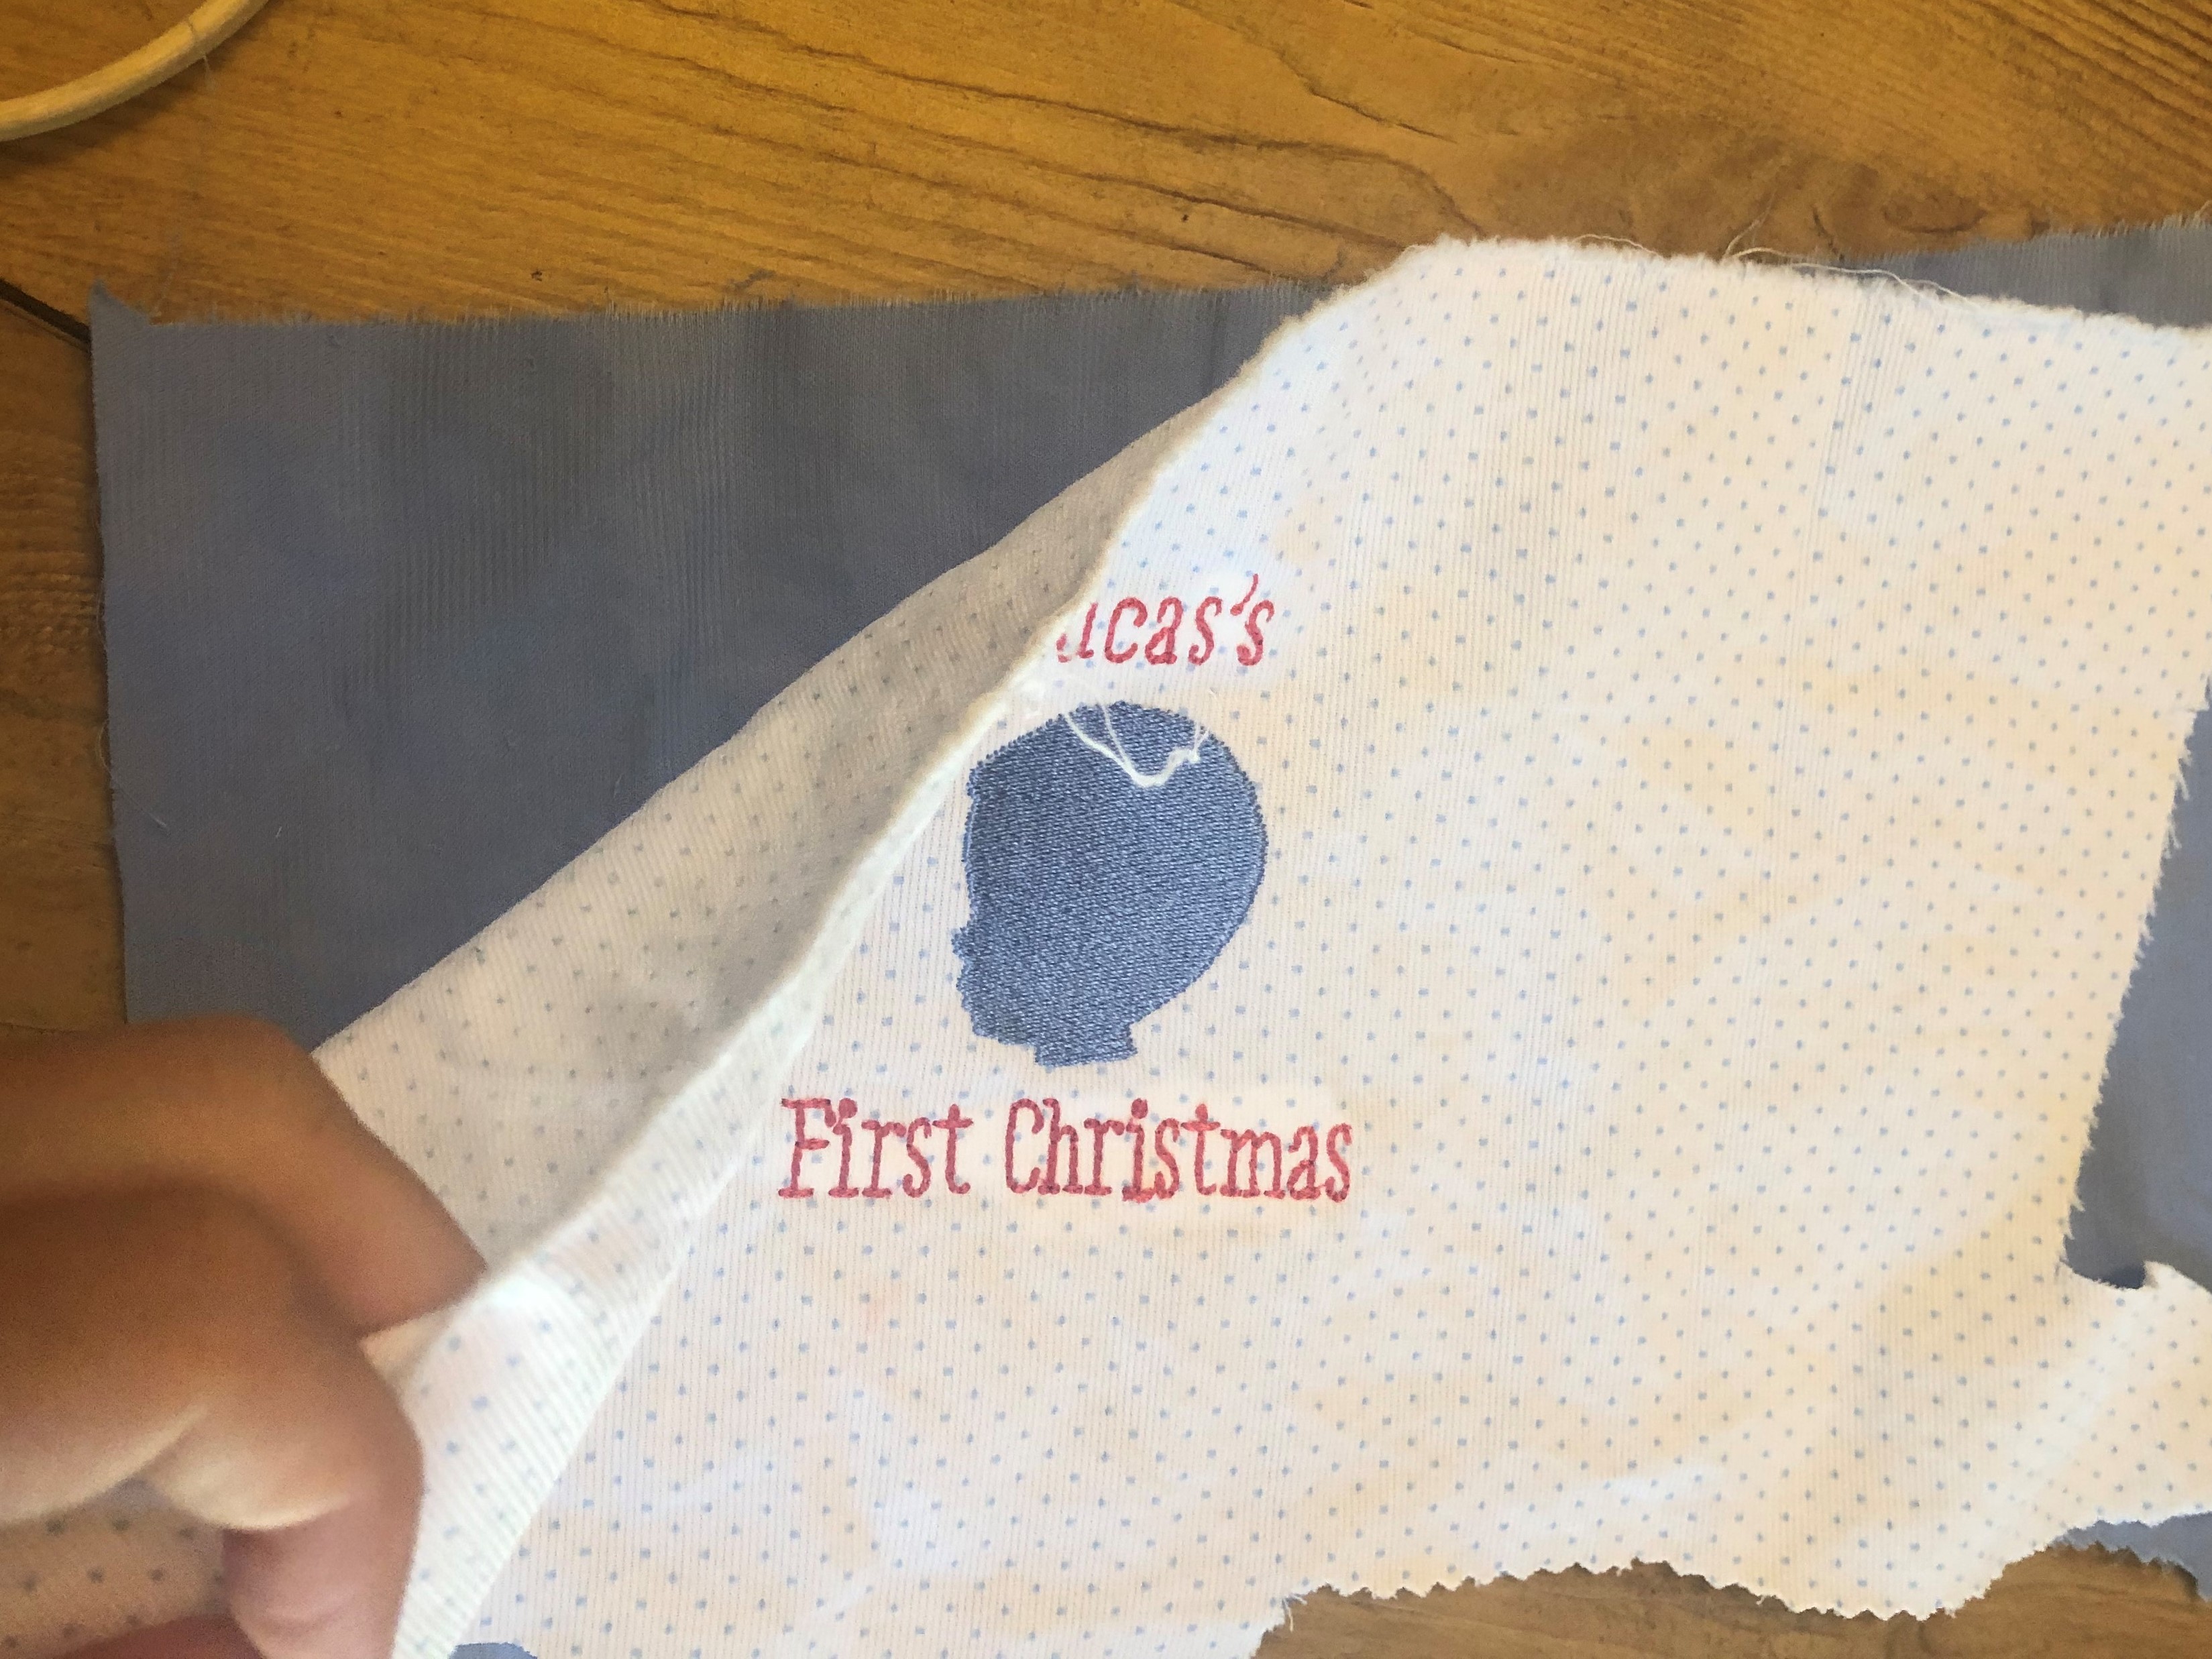
I floated the fabric for my ornament on a layer of sticky tearaway, regular tearaway, and then sprayed my second layer of tearaway with fabric spray adhesive then stuck my fabric on top. Now, my fabric was ready to stitch my ornament design. For a 4" embroidery hoop, my design measured 3.12 x 2.87", and literally one millimeter bigger on either side and it would have been too big.
Step 2:
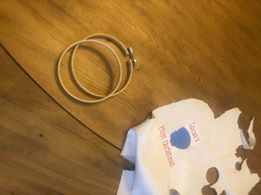
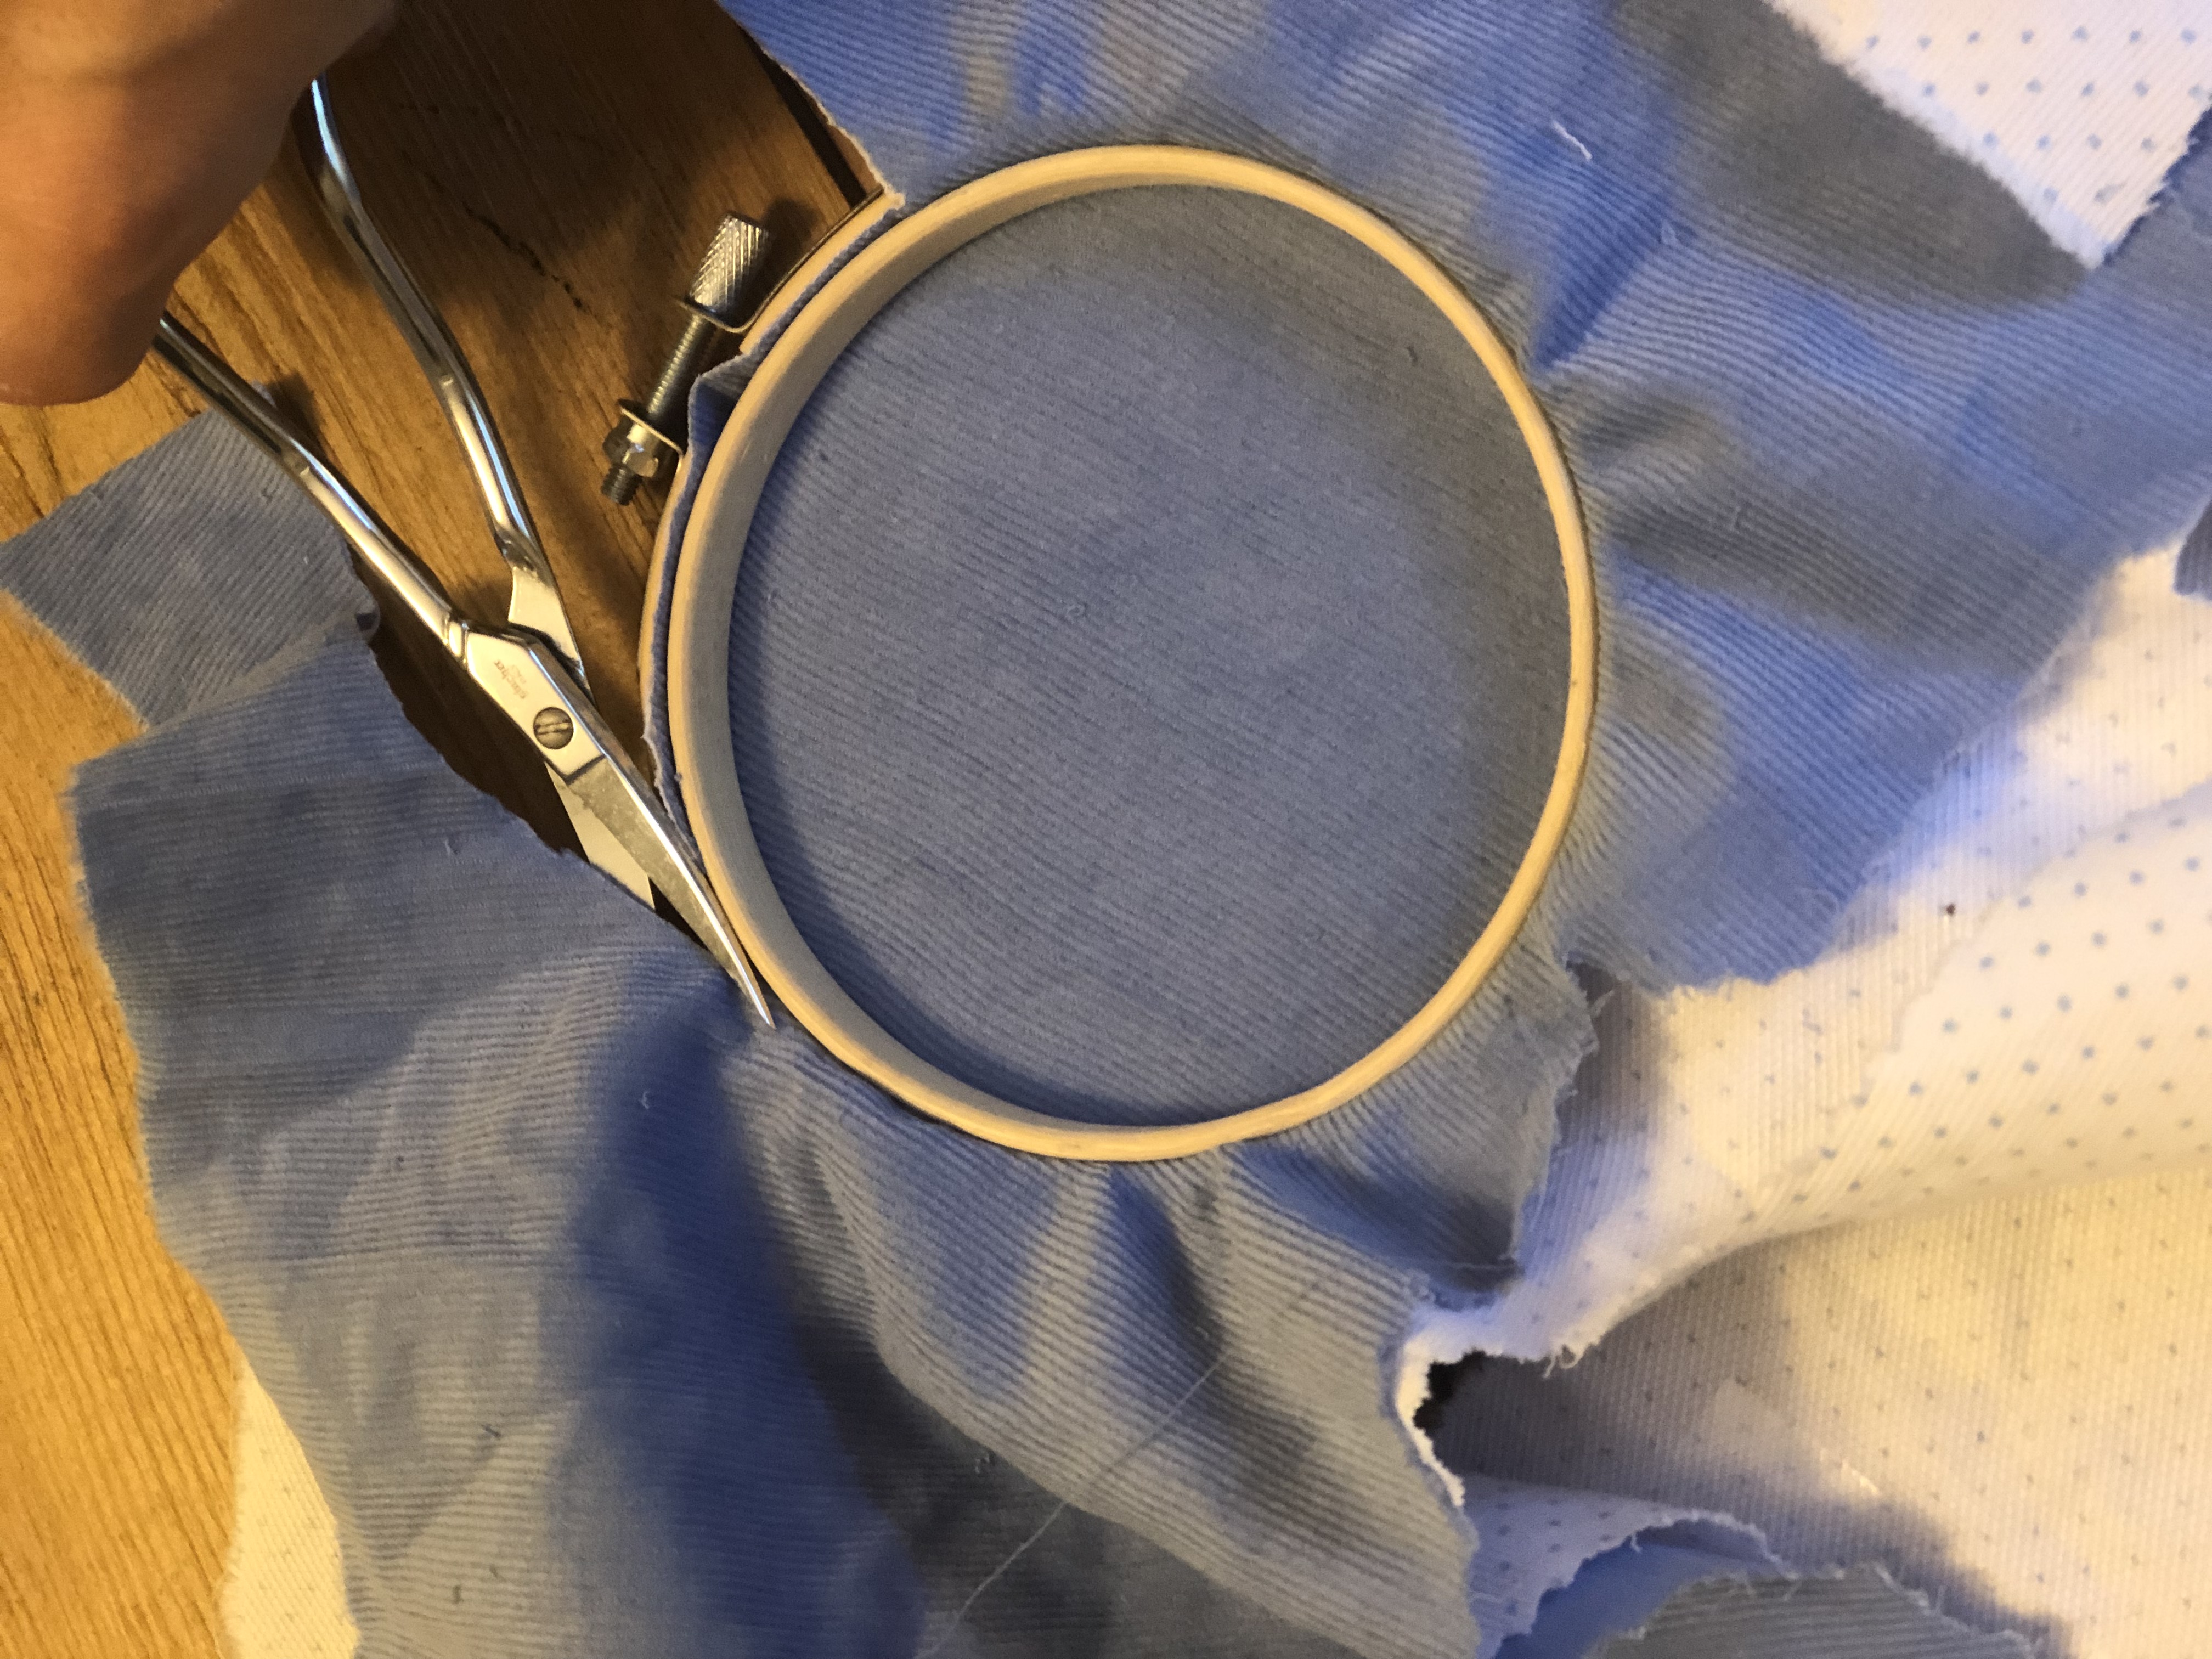
After you have stitched your ornament design onto the fabric of your choice (my fabric was pique), get out your hand embroidery hoops. The ones I used are 4" in size, and I ordered them online. However, there are other sizes besides 4".
Step 3:
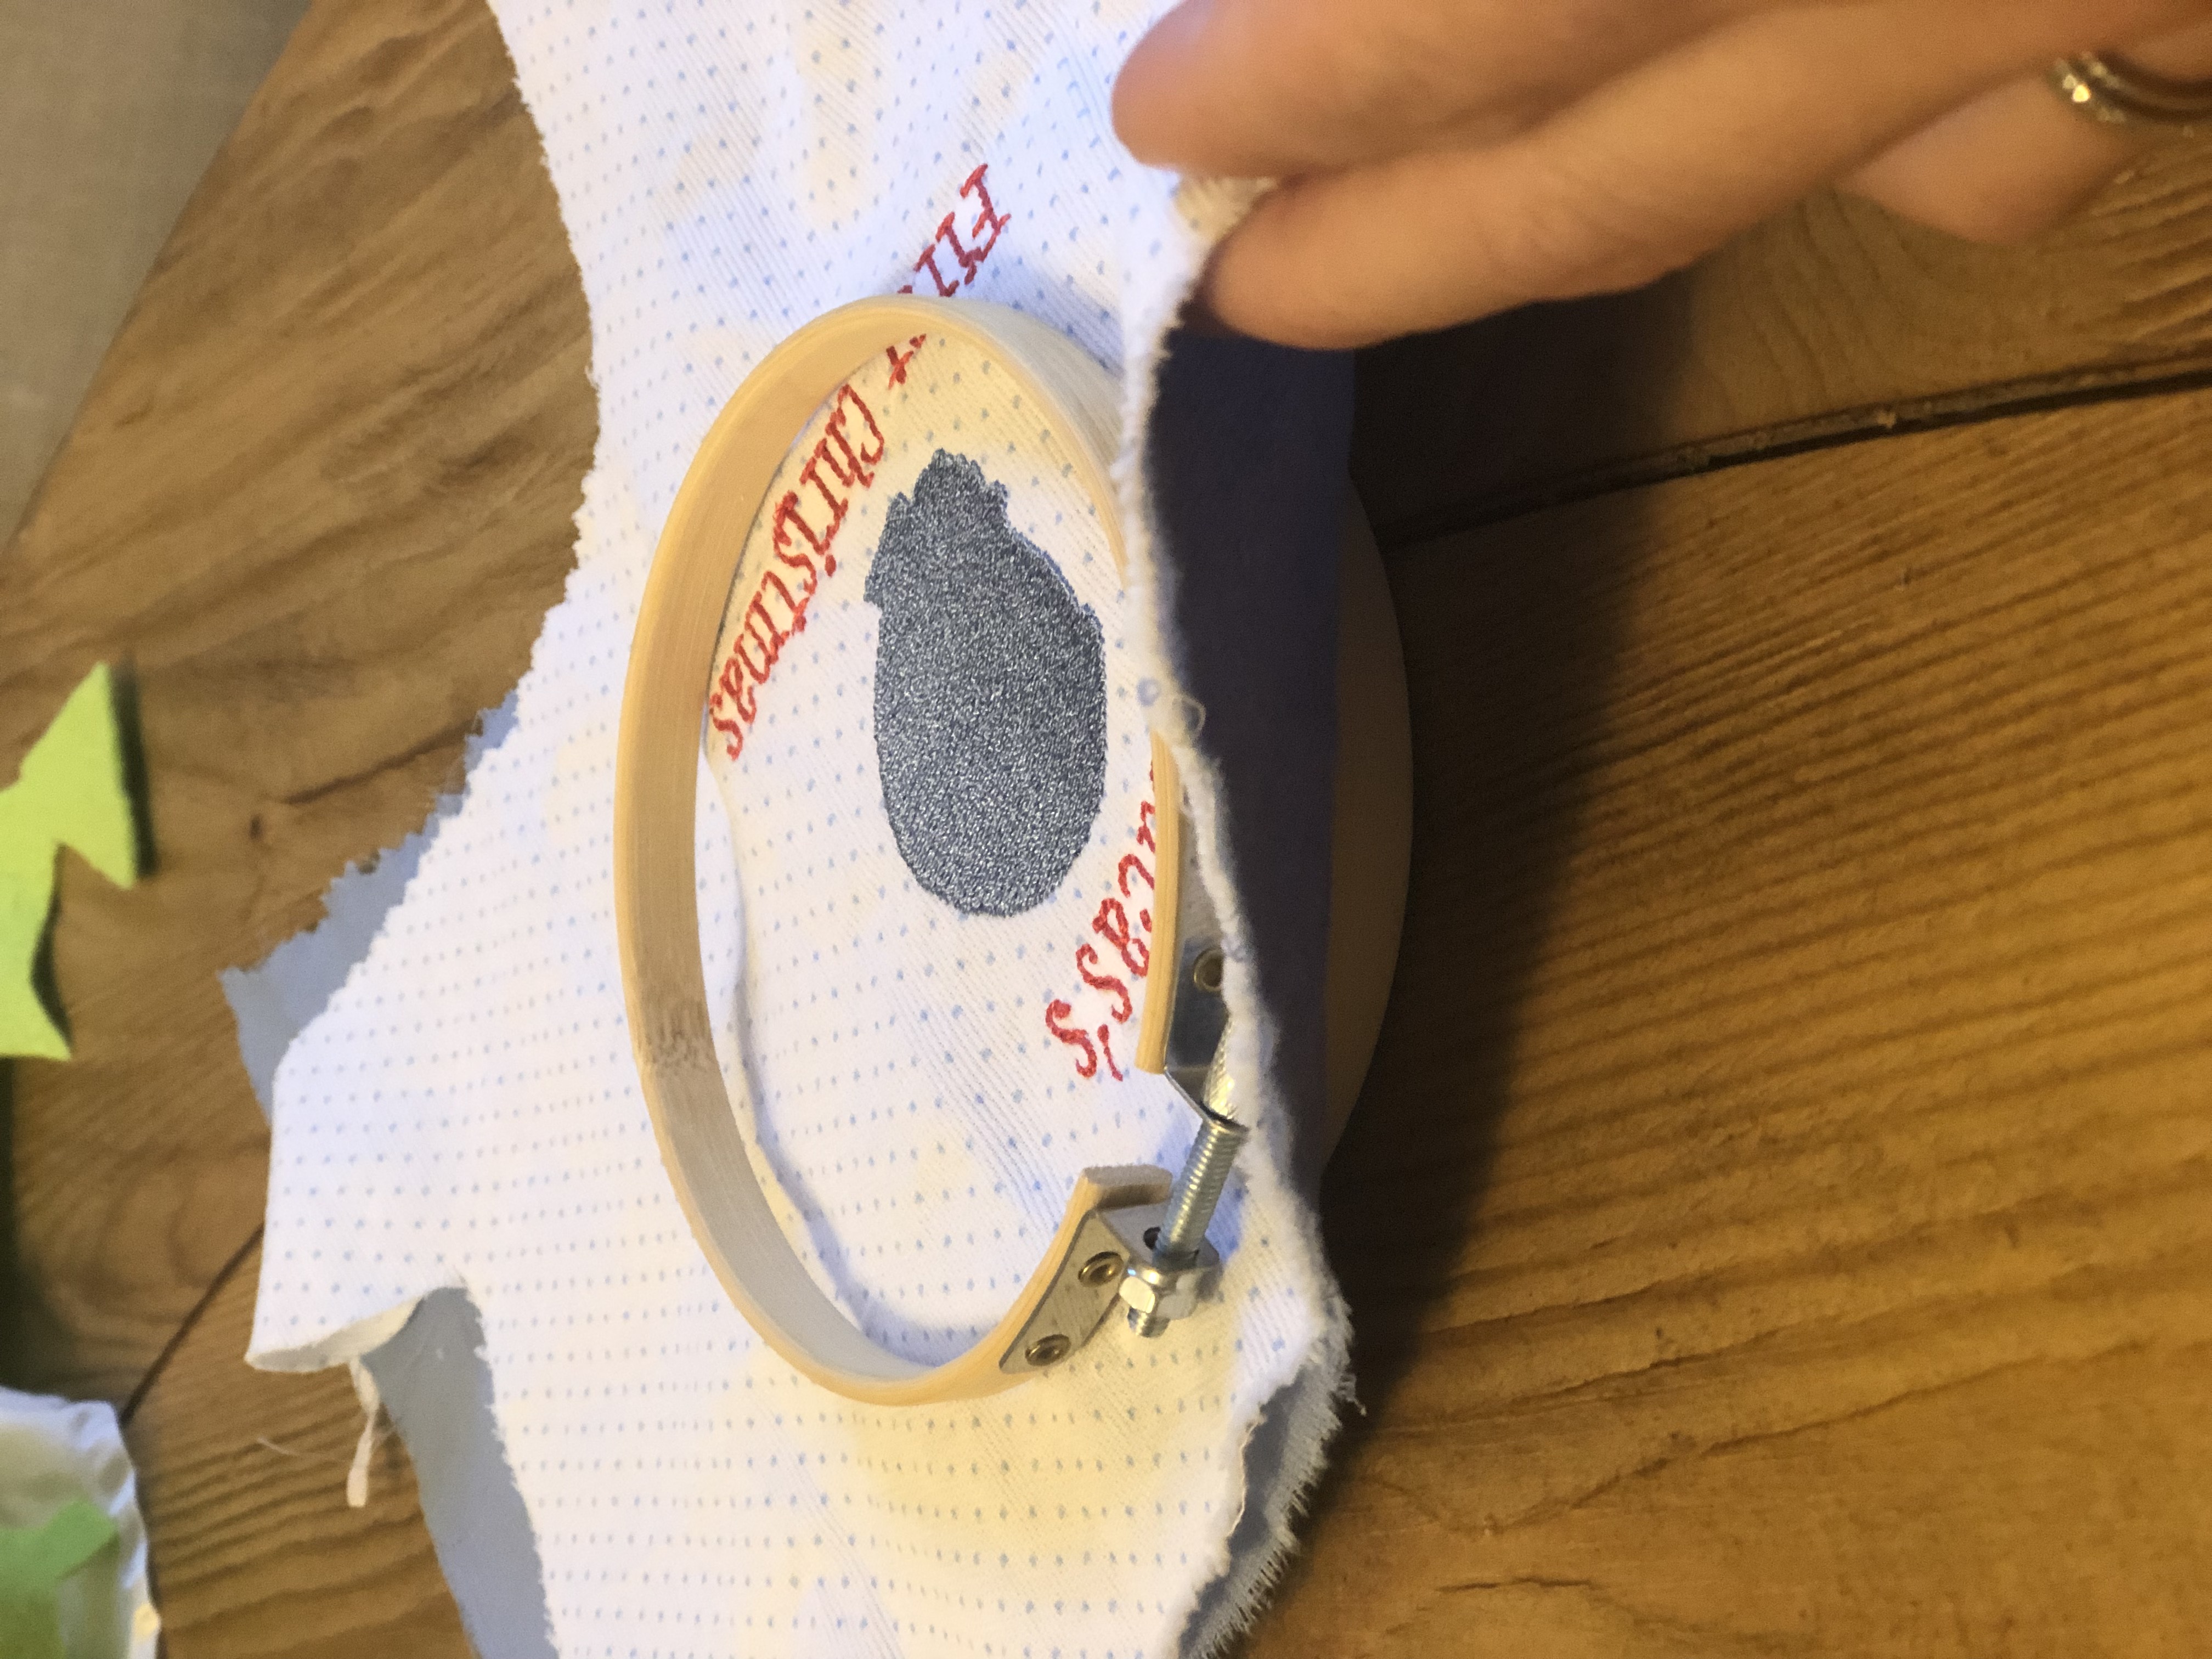
Pick a second fabric that will be seen on the reverse side of your ornament. I used a corduroy fabric for some stability, however, the important part here is that whatever fabric chosen cannot be seen behind the top fabric. Remember, these ornaments will be on a Christmas tree with Christmas tree lights and with a light shining through, you don't want the front to be ruined by whatever fabric is chosen on the back.
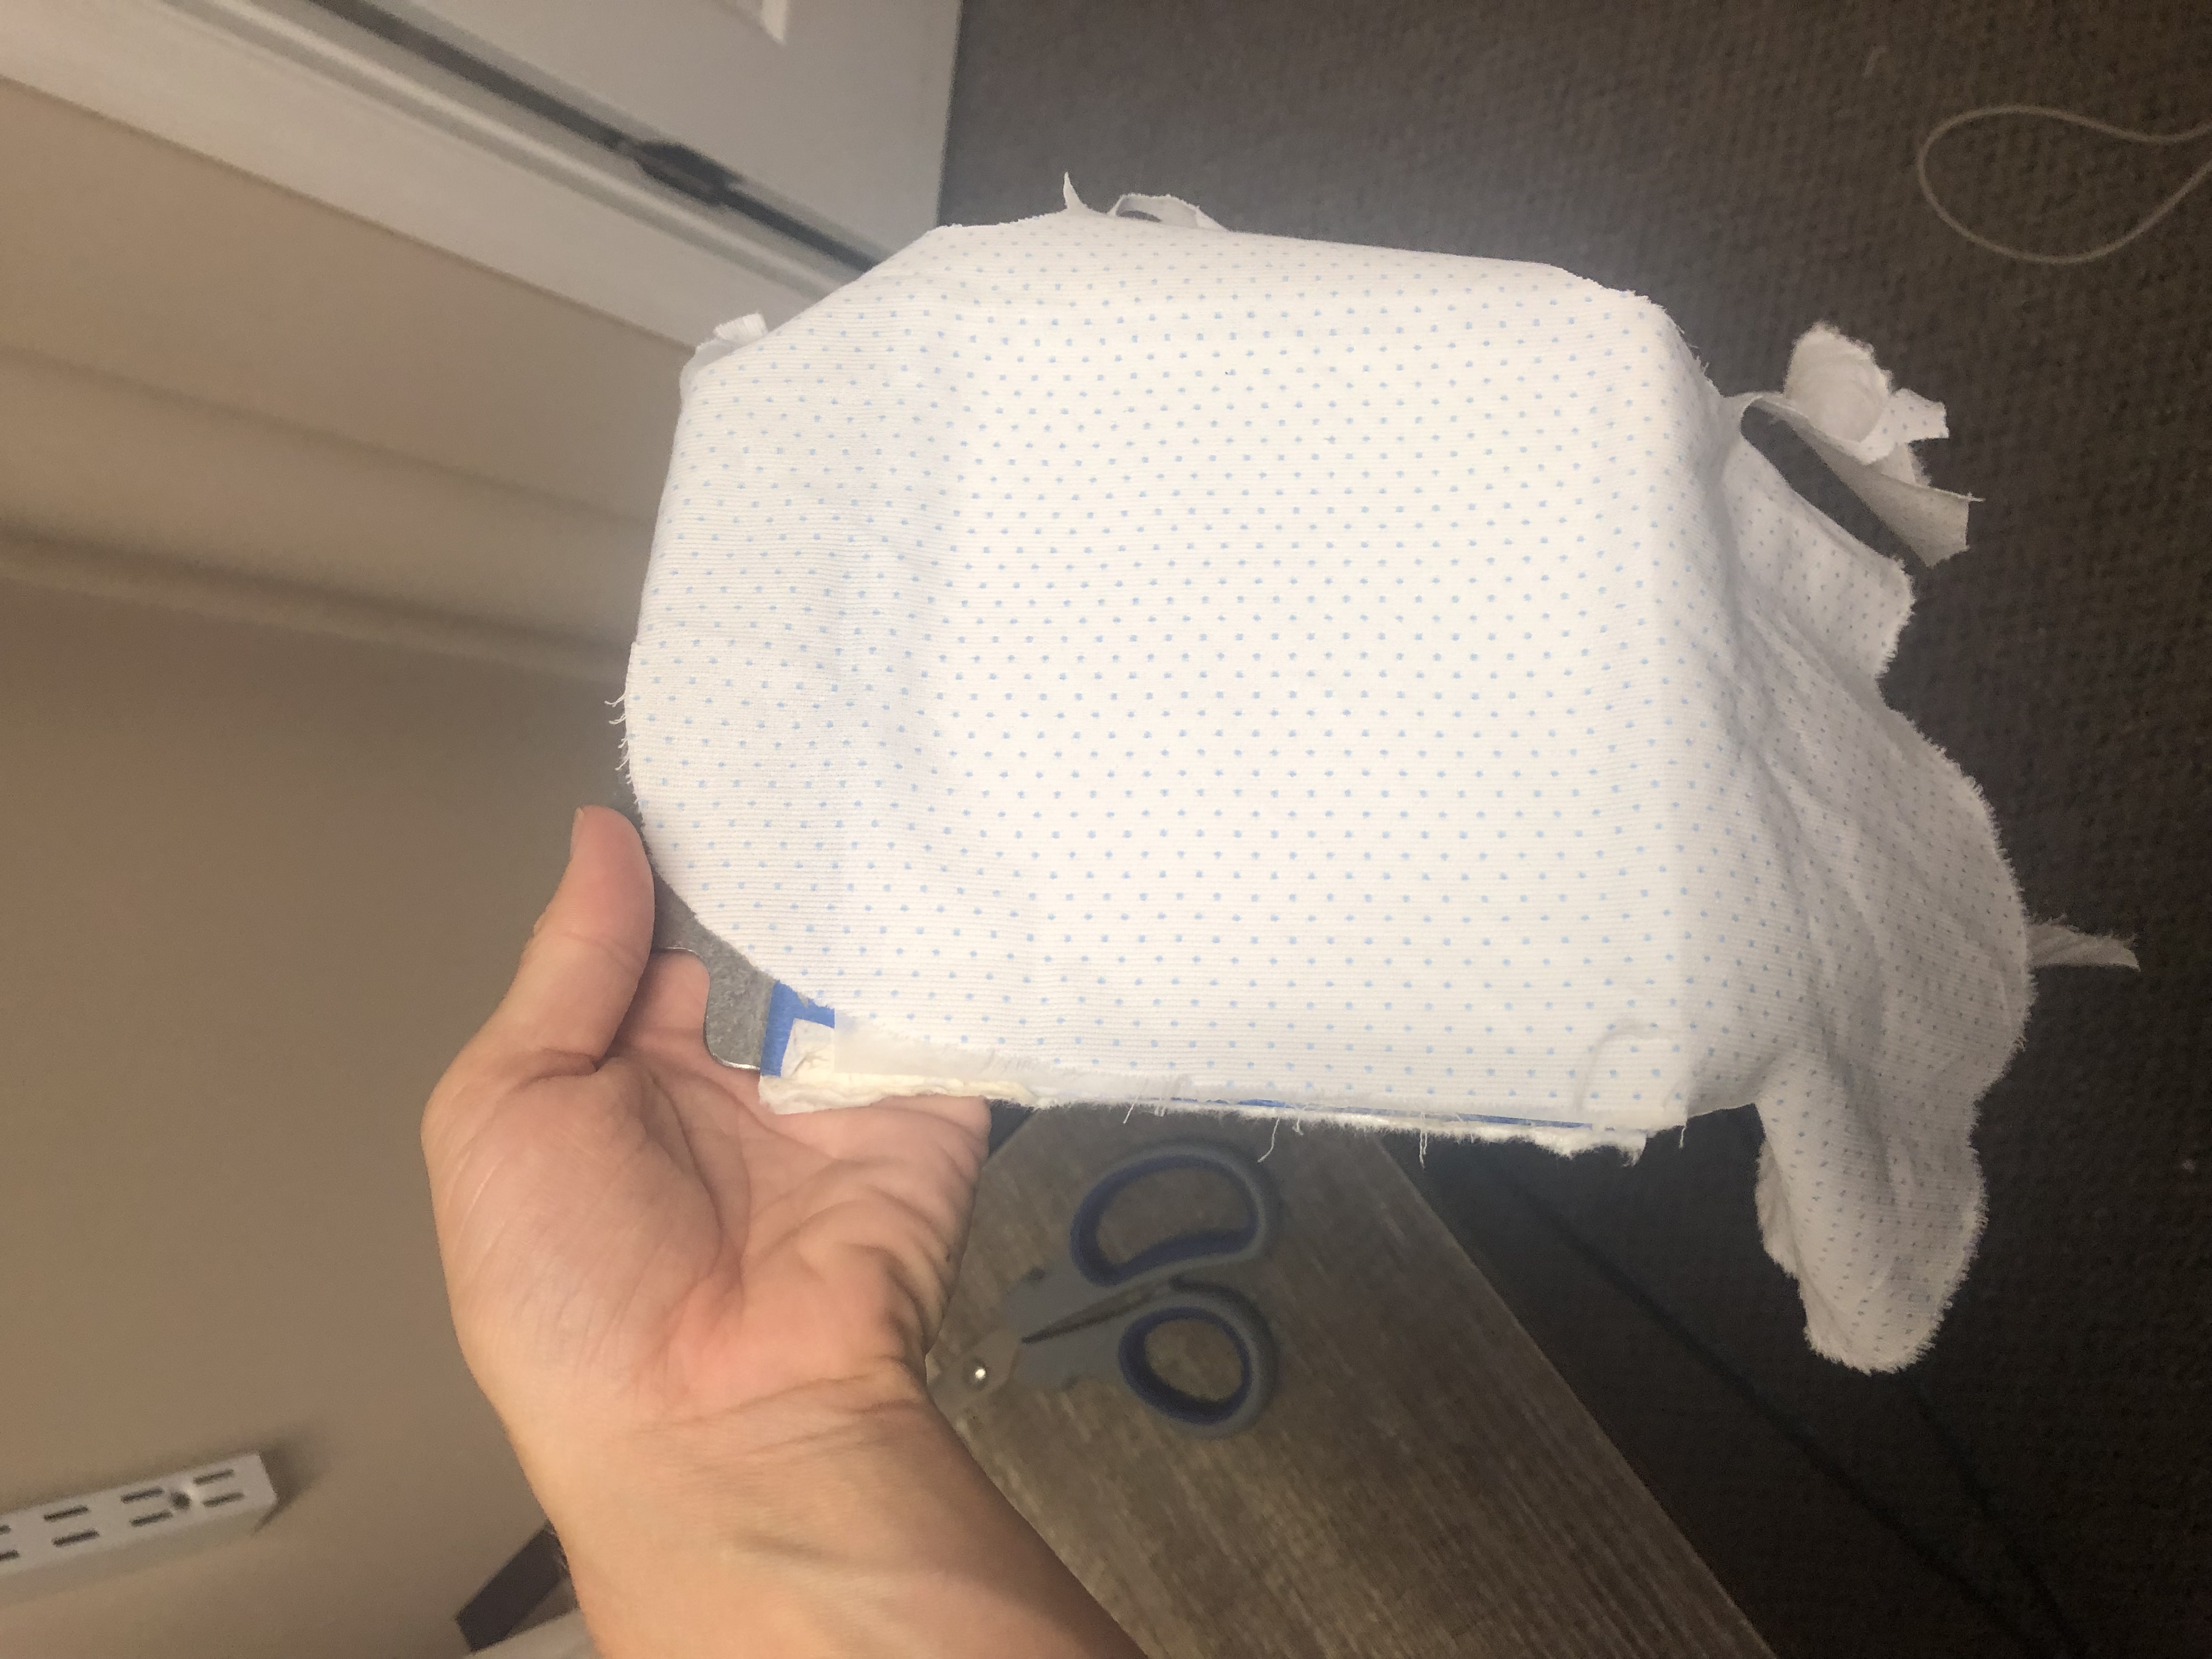
After picking your second fabric, place your backing and top fabric with WRONG sides together.
Step 4:
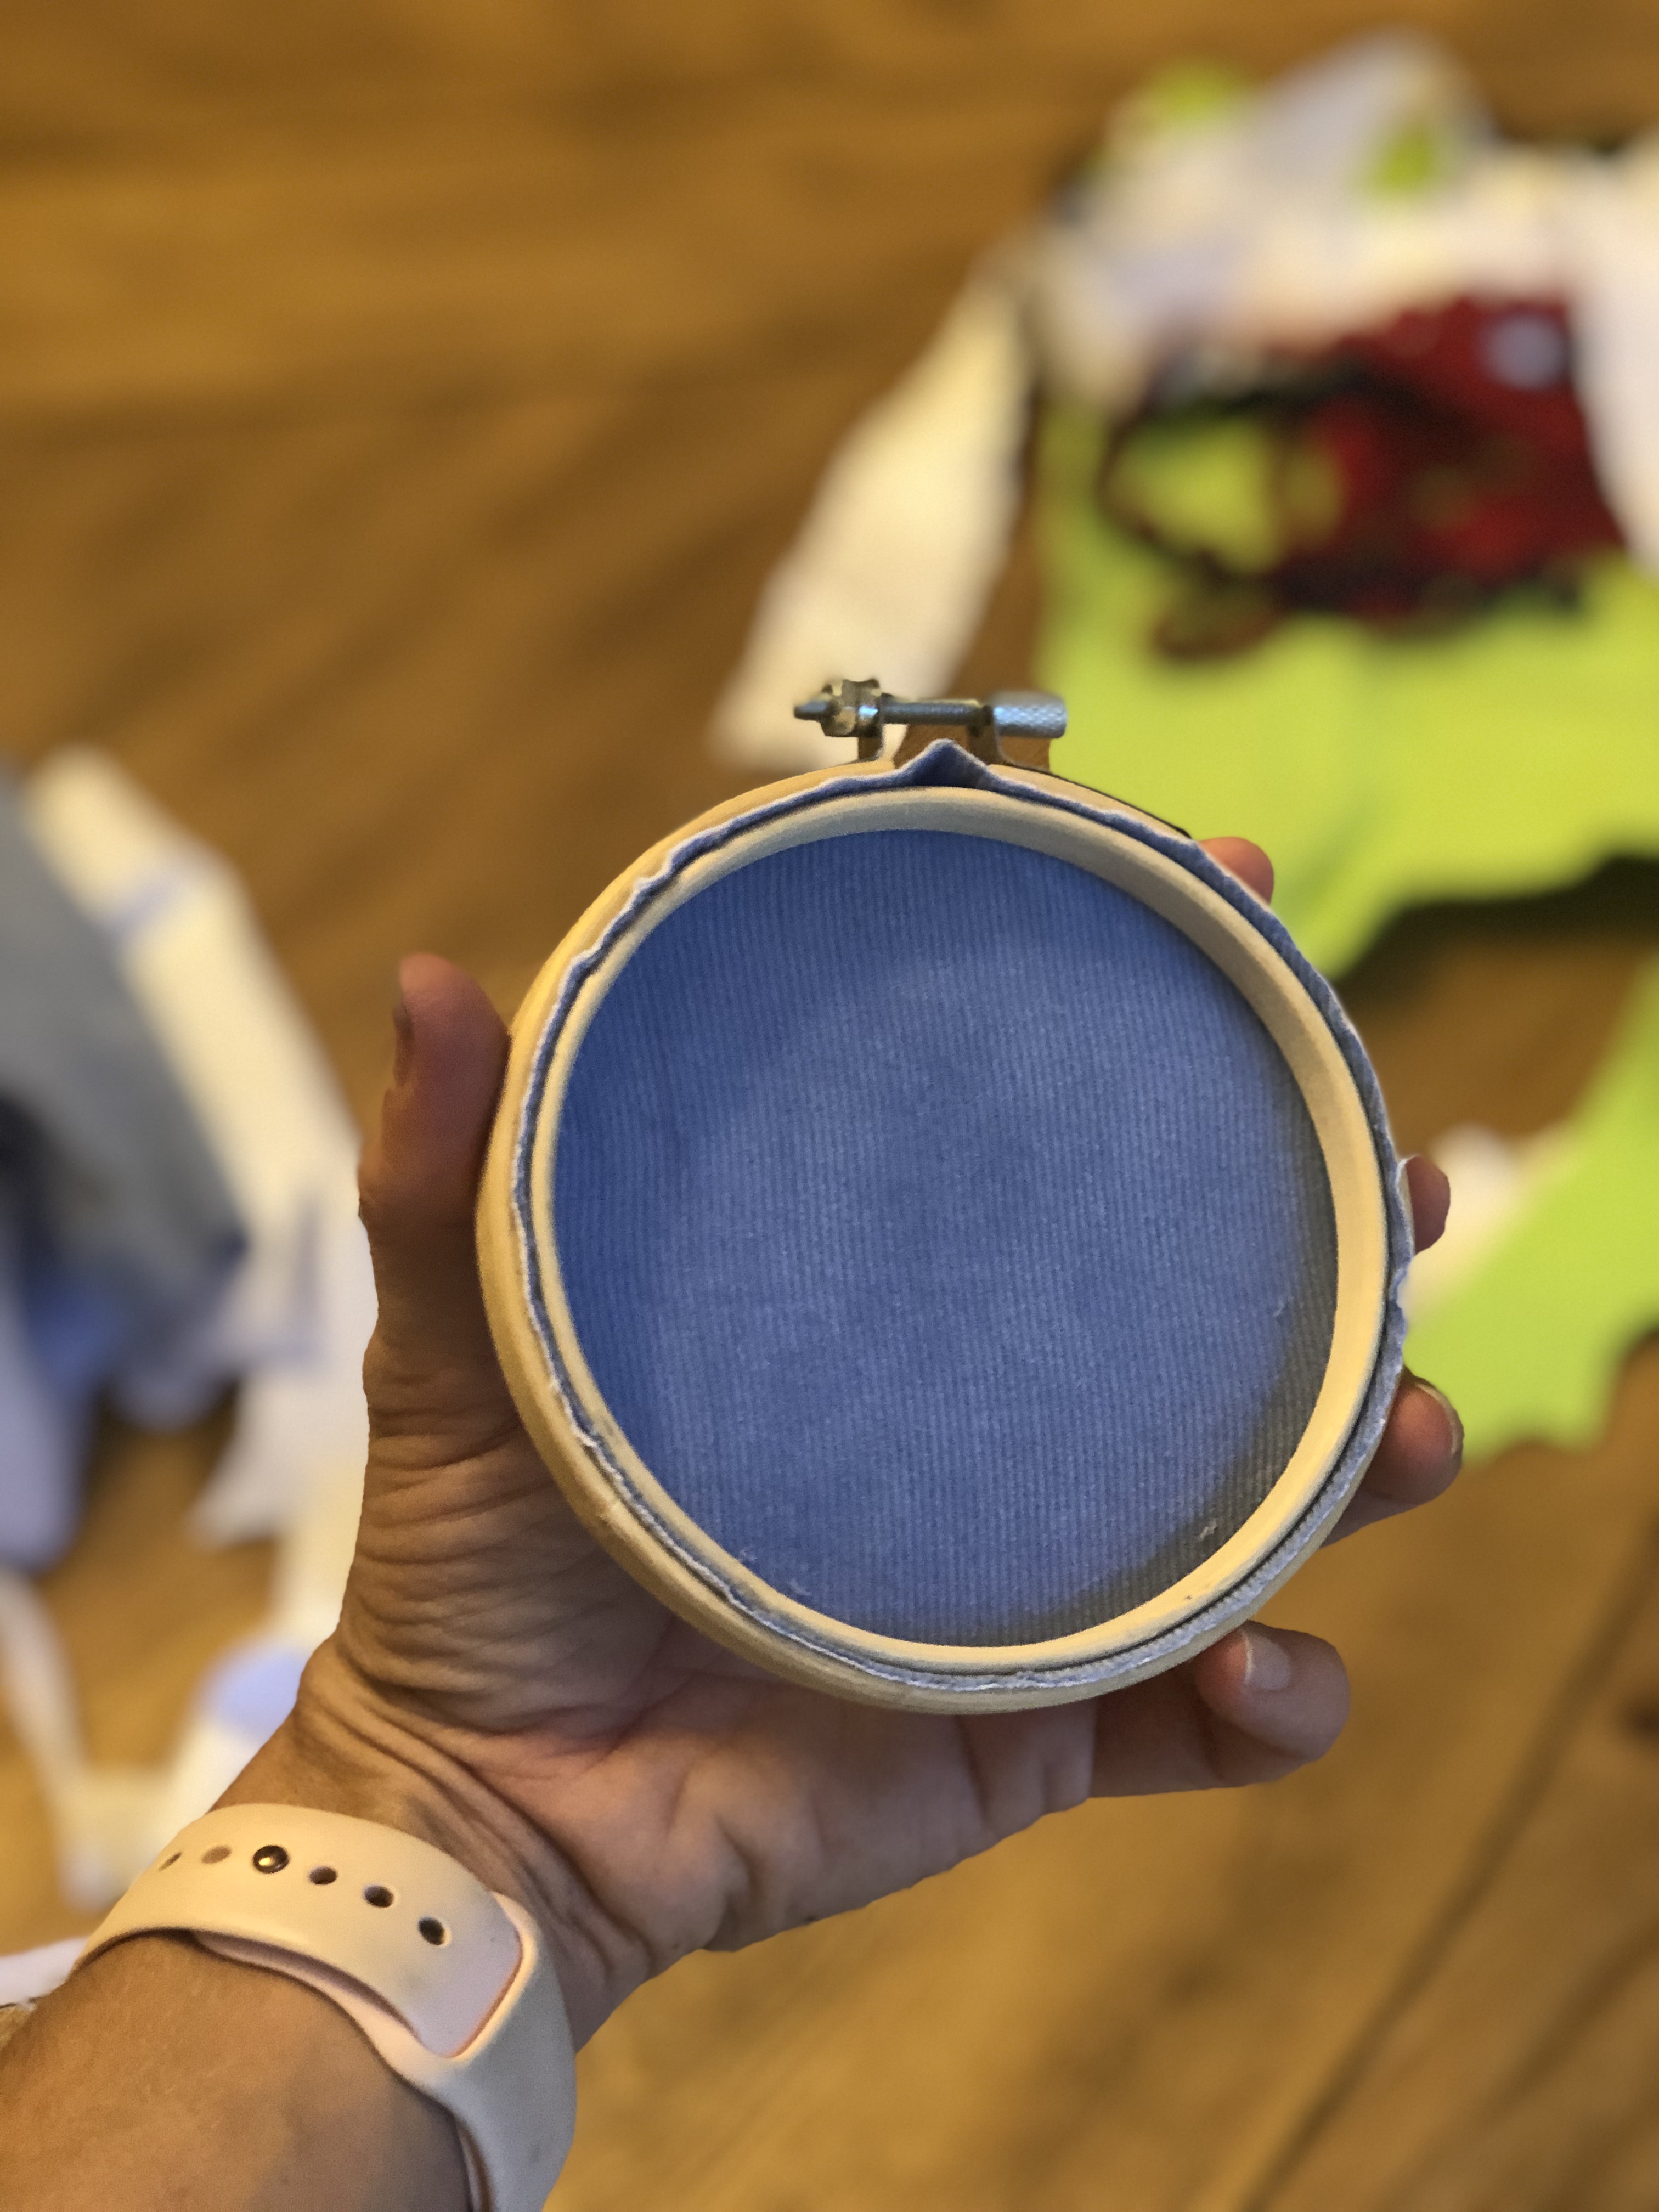
Your fabric is ready to put in the hoop. Loosen the fastener on your embroidery hoop and take out the smaller hoop, so you can insert your two layers of fabric. In order from bottom to top this is what the layers will look like: smaller round hoop, non-embroidered back fabric, embroidered top fabric, hoop with fastener attached to it.
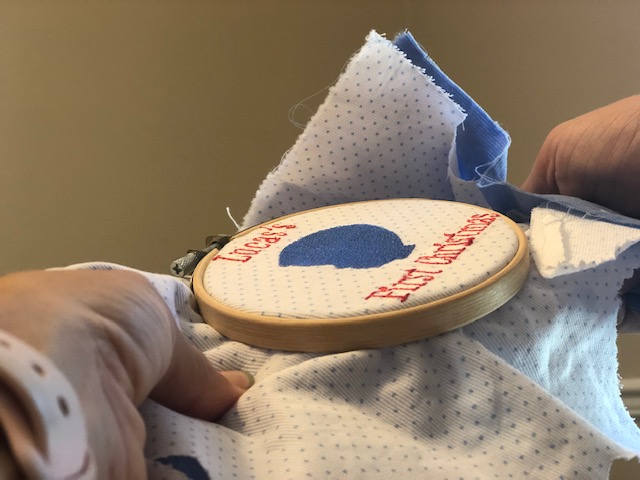
Step 5:
Secure your fabric into the hoops, making sure your design is centered in the process. Once you insert the bottom hoop into the top with the fabric securely between the two, tighten the fastener at the top until it's as tight as it will go. Next (and if needed), gently tug the top bottom layers of fabric until it's "drum tight".
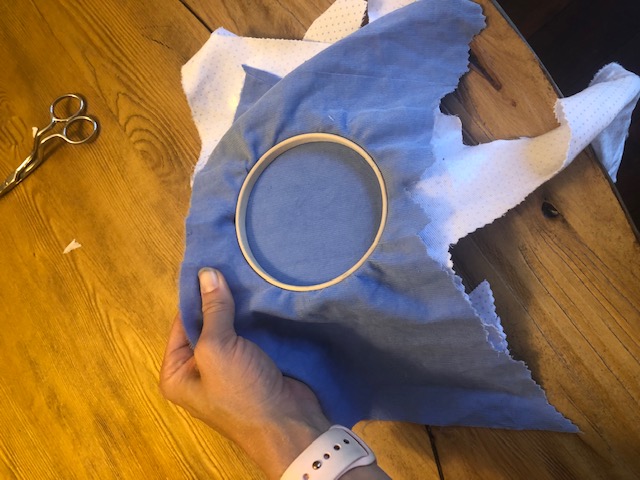
Step 6:
Once your fabrics are drum tight, get a good pair of sharp scissors. Flip your hoop over and trim your two fabrics as close to the hoop as possible. *Note, if the fabric(s) you are using fray easily, you could always iron Heat N Bond Lite to your fabrics beforehand or use something like Fray Check. Cut until you've gone all the way around the hoop.
Step 7:
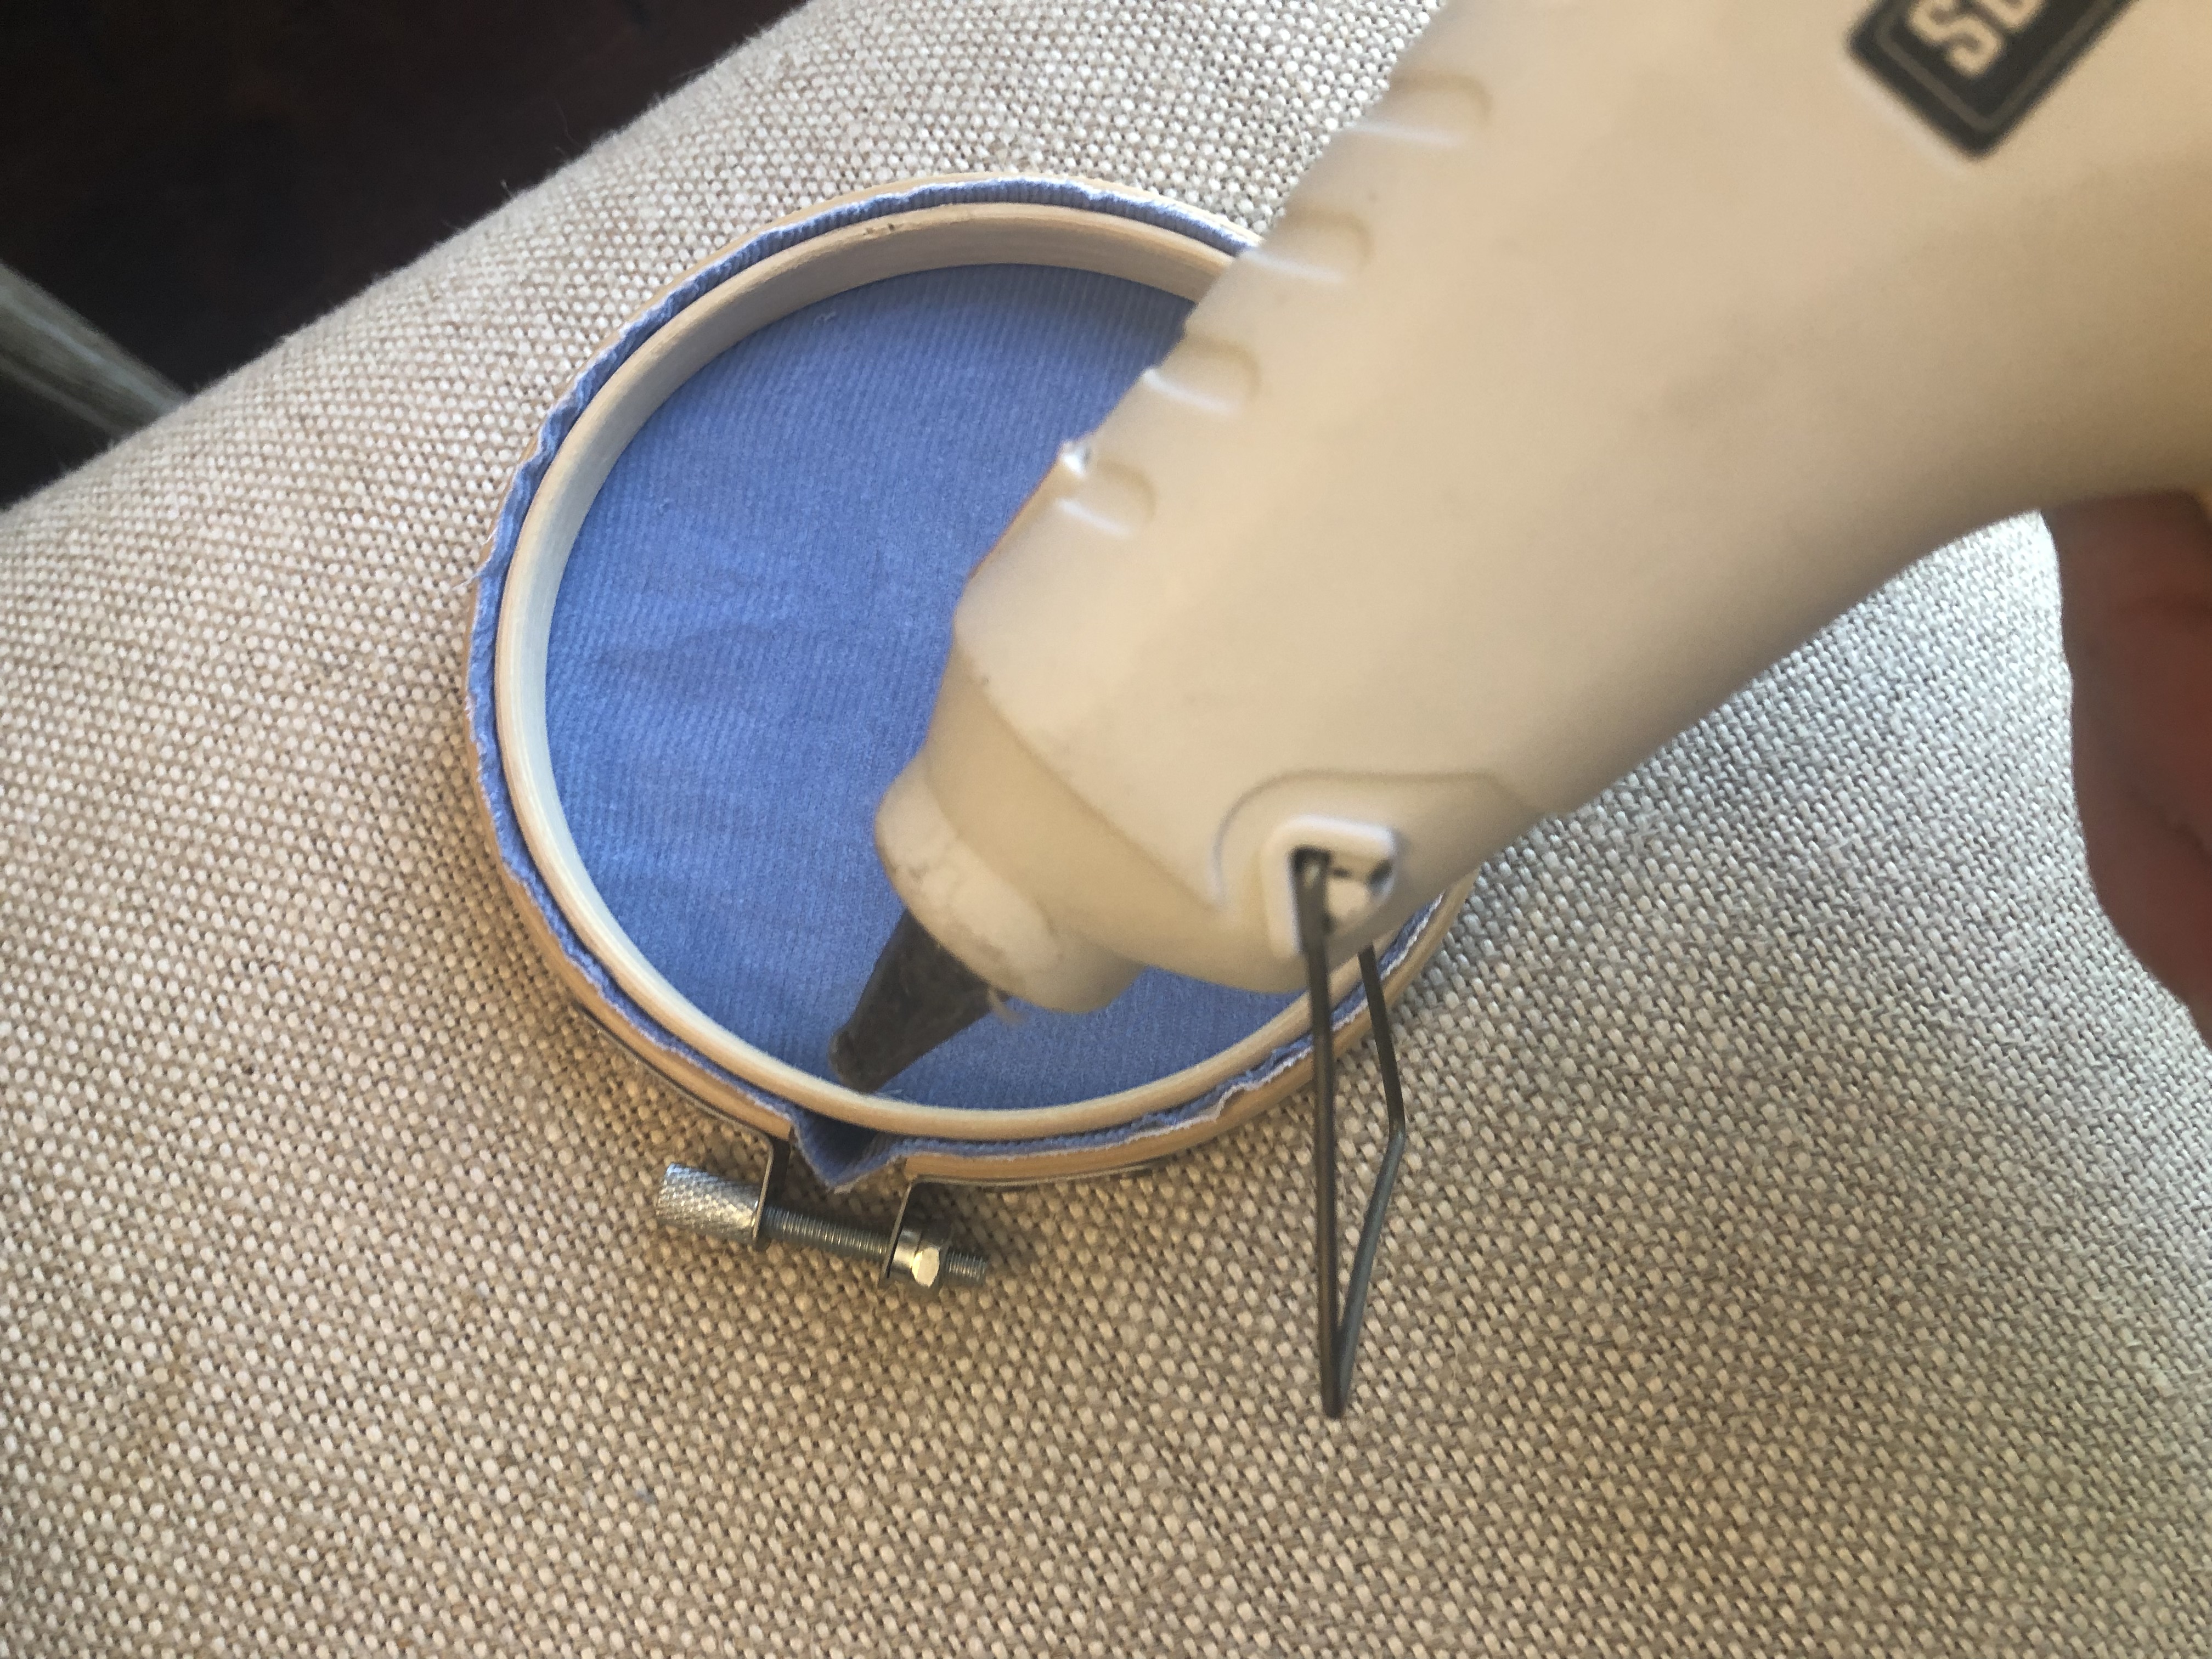
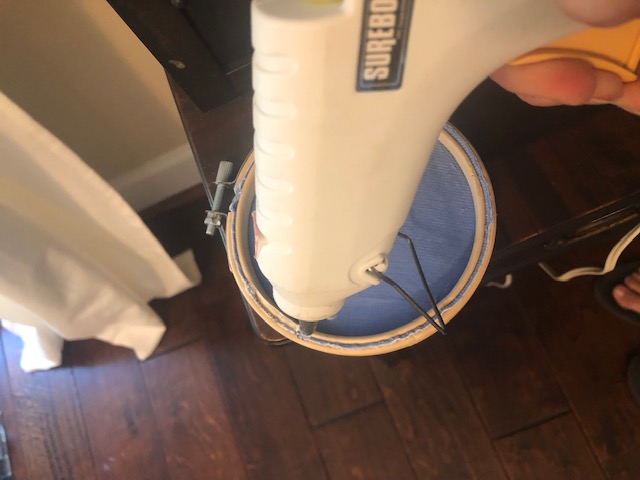
This next step is not particularly necessary, however, since I have my hot glue gun out already for a later step, I go ahead and do step 7.
Put a dab of hot glue adhering any fabric that may be left between the opening at the hoop to the hoop itself.
Step 8:
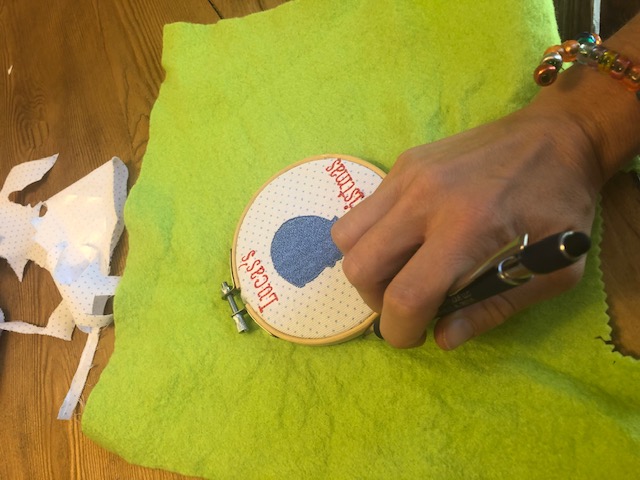
Like Step 7, Step 8 is simply one of preference. One could definitely move to the ribbon tying steps and leave the back exactly how it looks after trimming away fabric in step 6. However, there is also the option of adding a material like felt to the back of the ornament as well. To do this, trace a close circle around your ornament onto the felt then cut out.

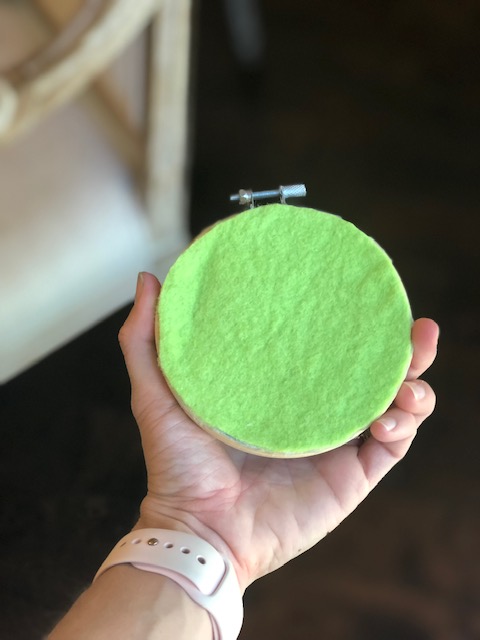
Step 9:
Working all the way around your hoop, place a thin line of hot glue (or using the adhesive of your choice), directly onto the reverse of the ornament attaching your felt to the back.
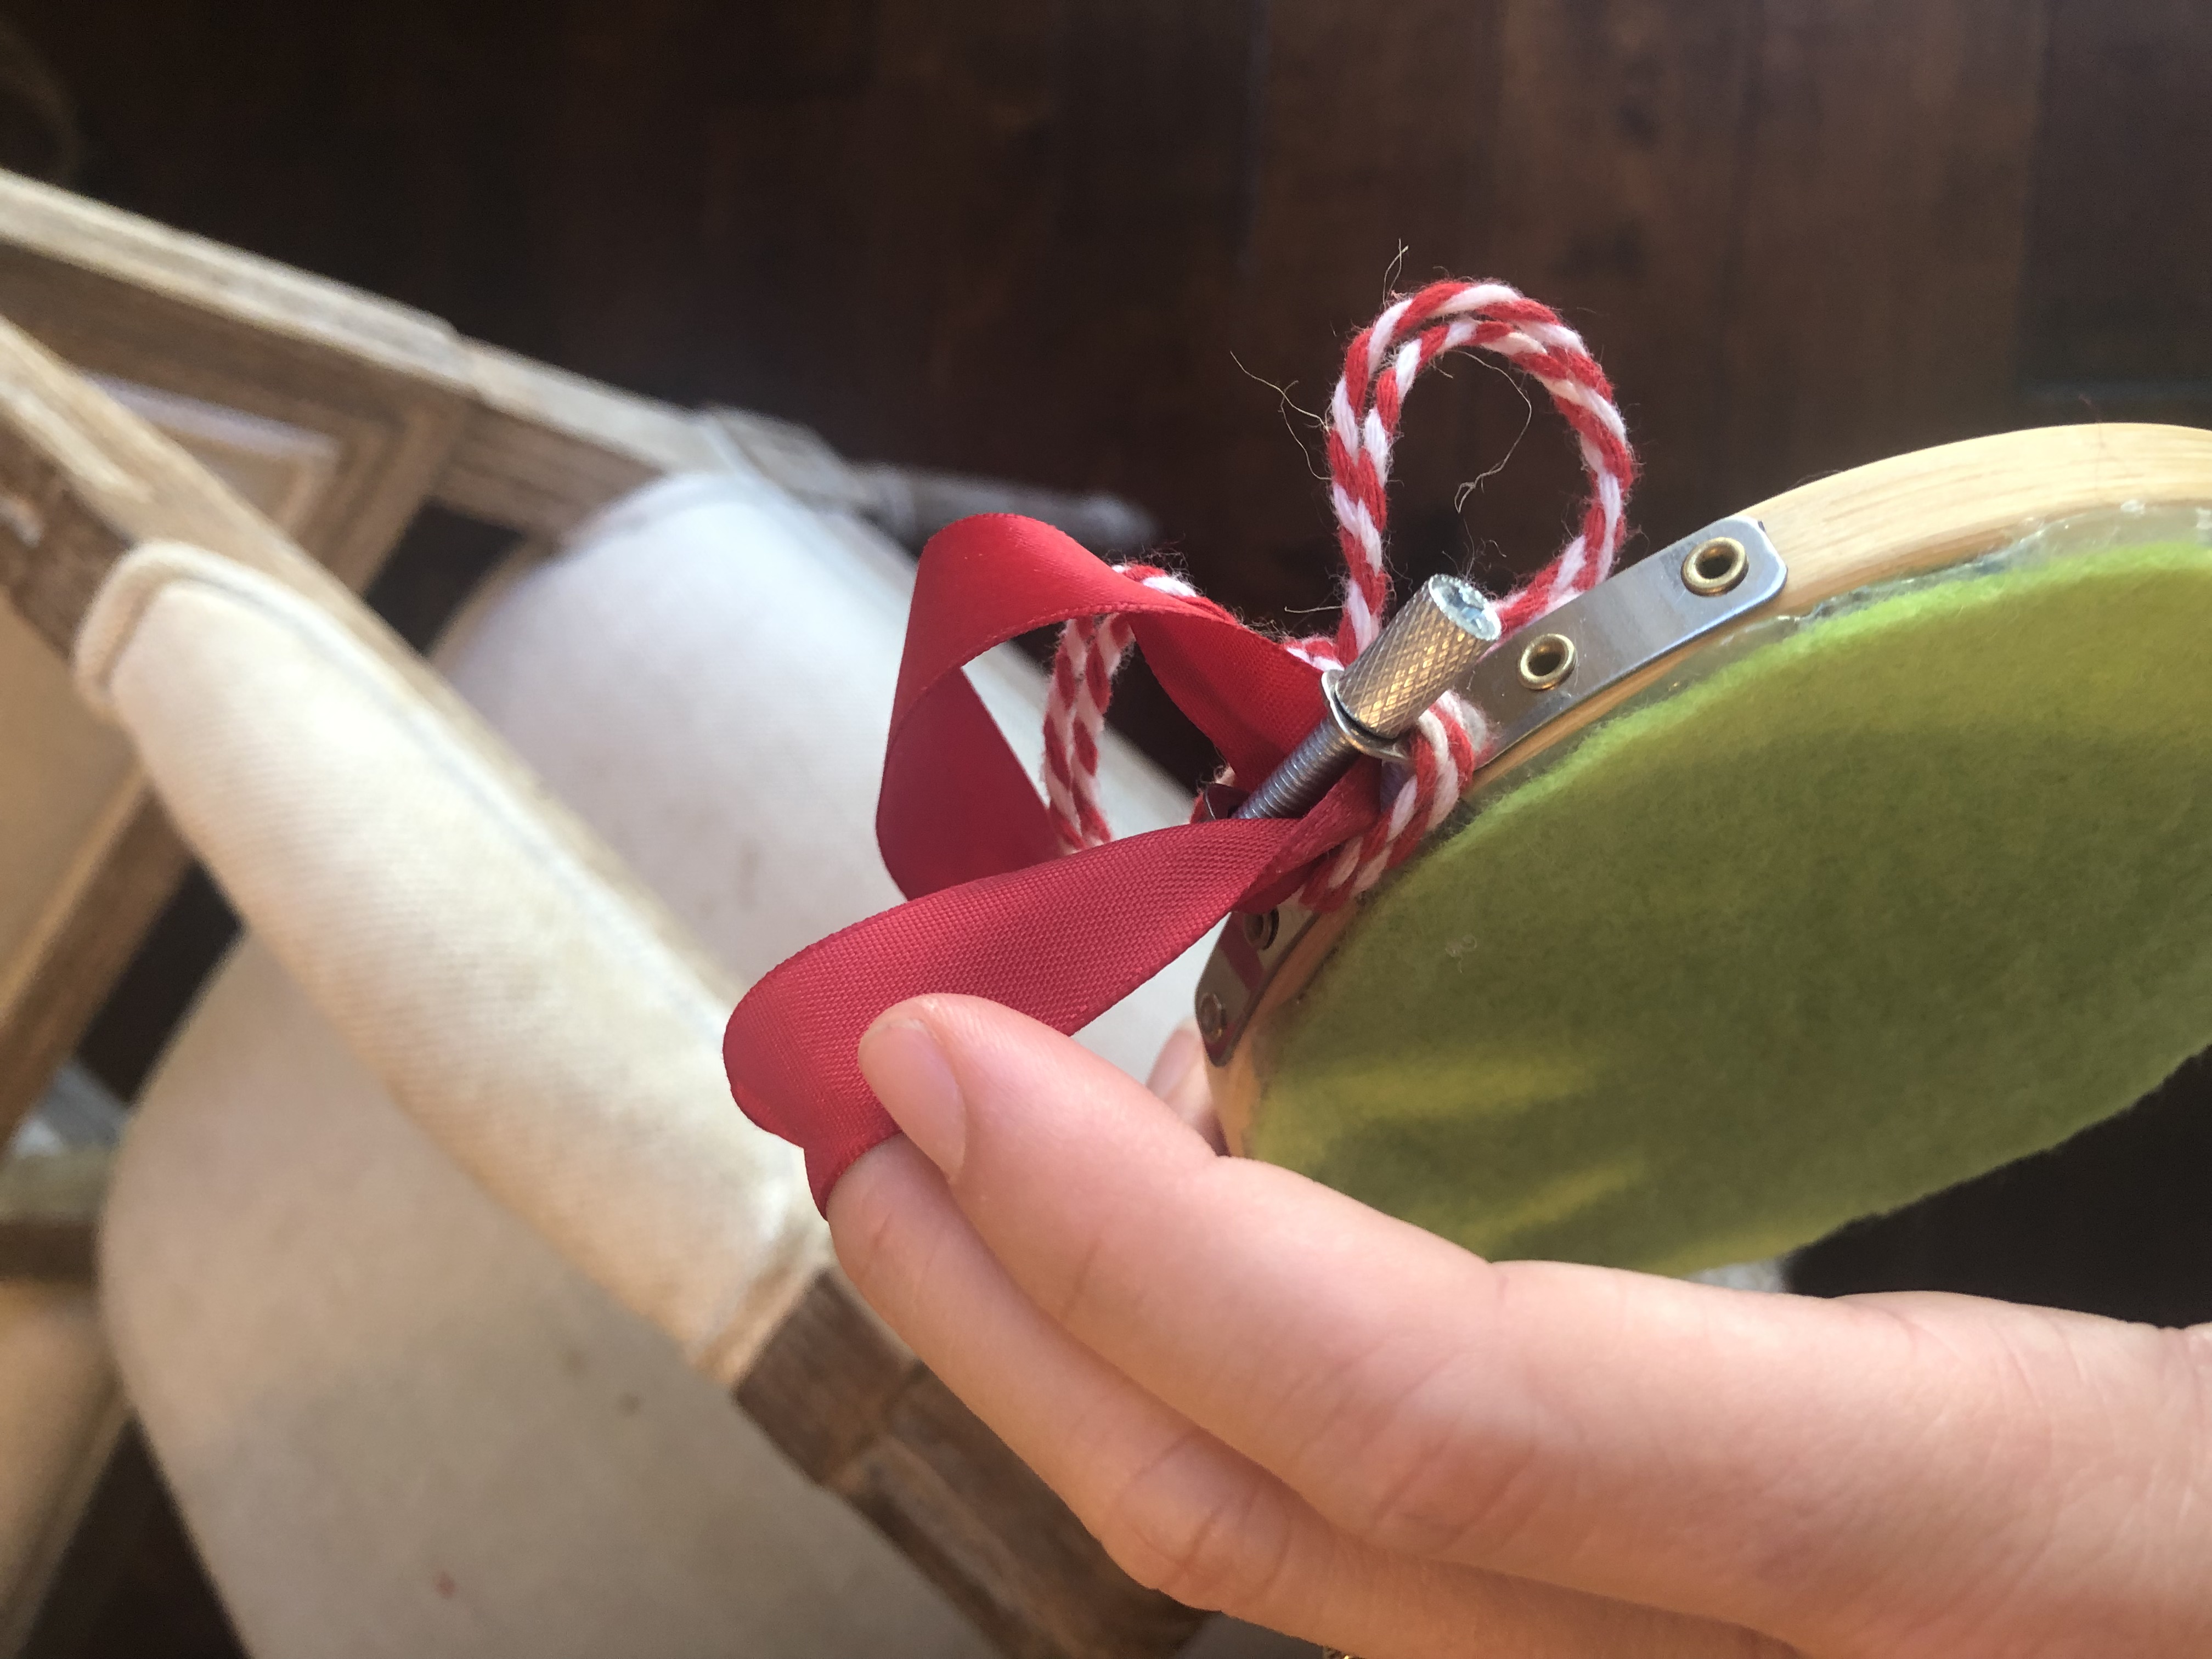
Step 10:
After attaching your felt (or skipping steps 8 and 9), it's time to tie on ribbons. And this part is so customizable and so fun. There are premade ribbons one can buy, pom pom strings, all types of ribbons, ric rac, baker's twine, etc. So do not let my one example in this tutorial keep your creative juices from flowing in terms of how you make your ornament hang from the tree. For this ornament, though, I simply strung a ribbon under the screw of the hoop and tied a knot so it made a circle. Then, I took baker's twine and looped it around both brackets and tied a bow in the front. Voila!
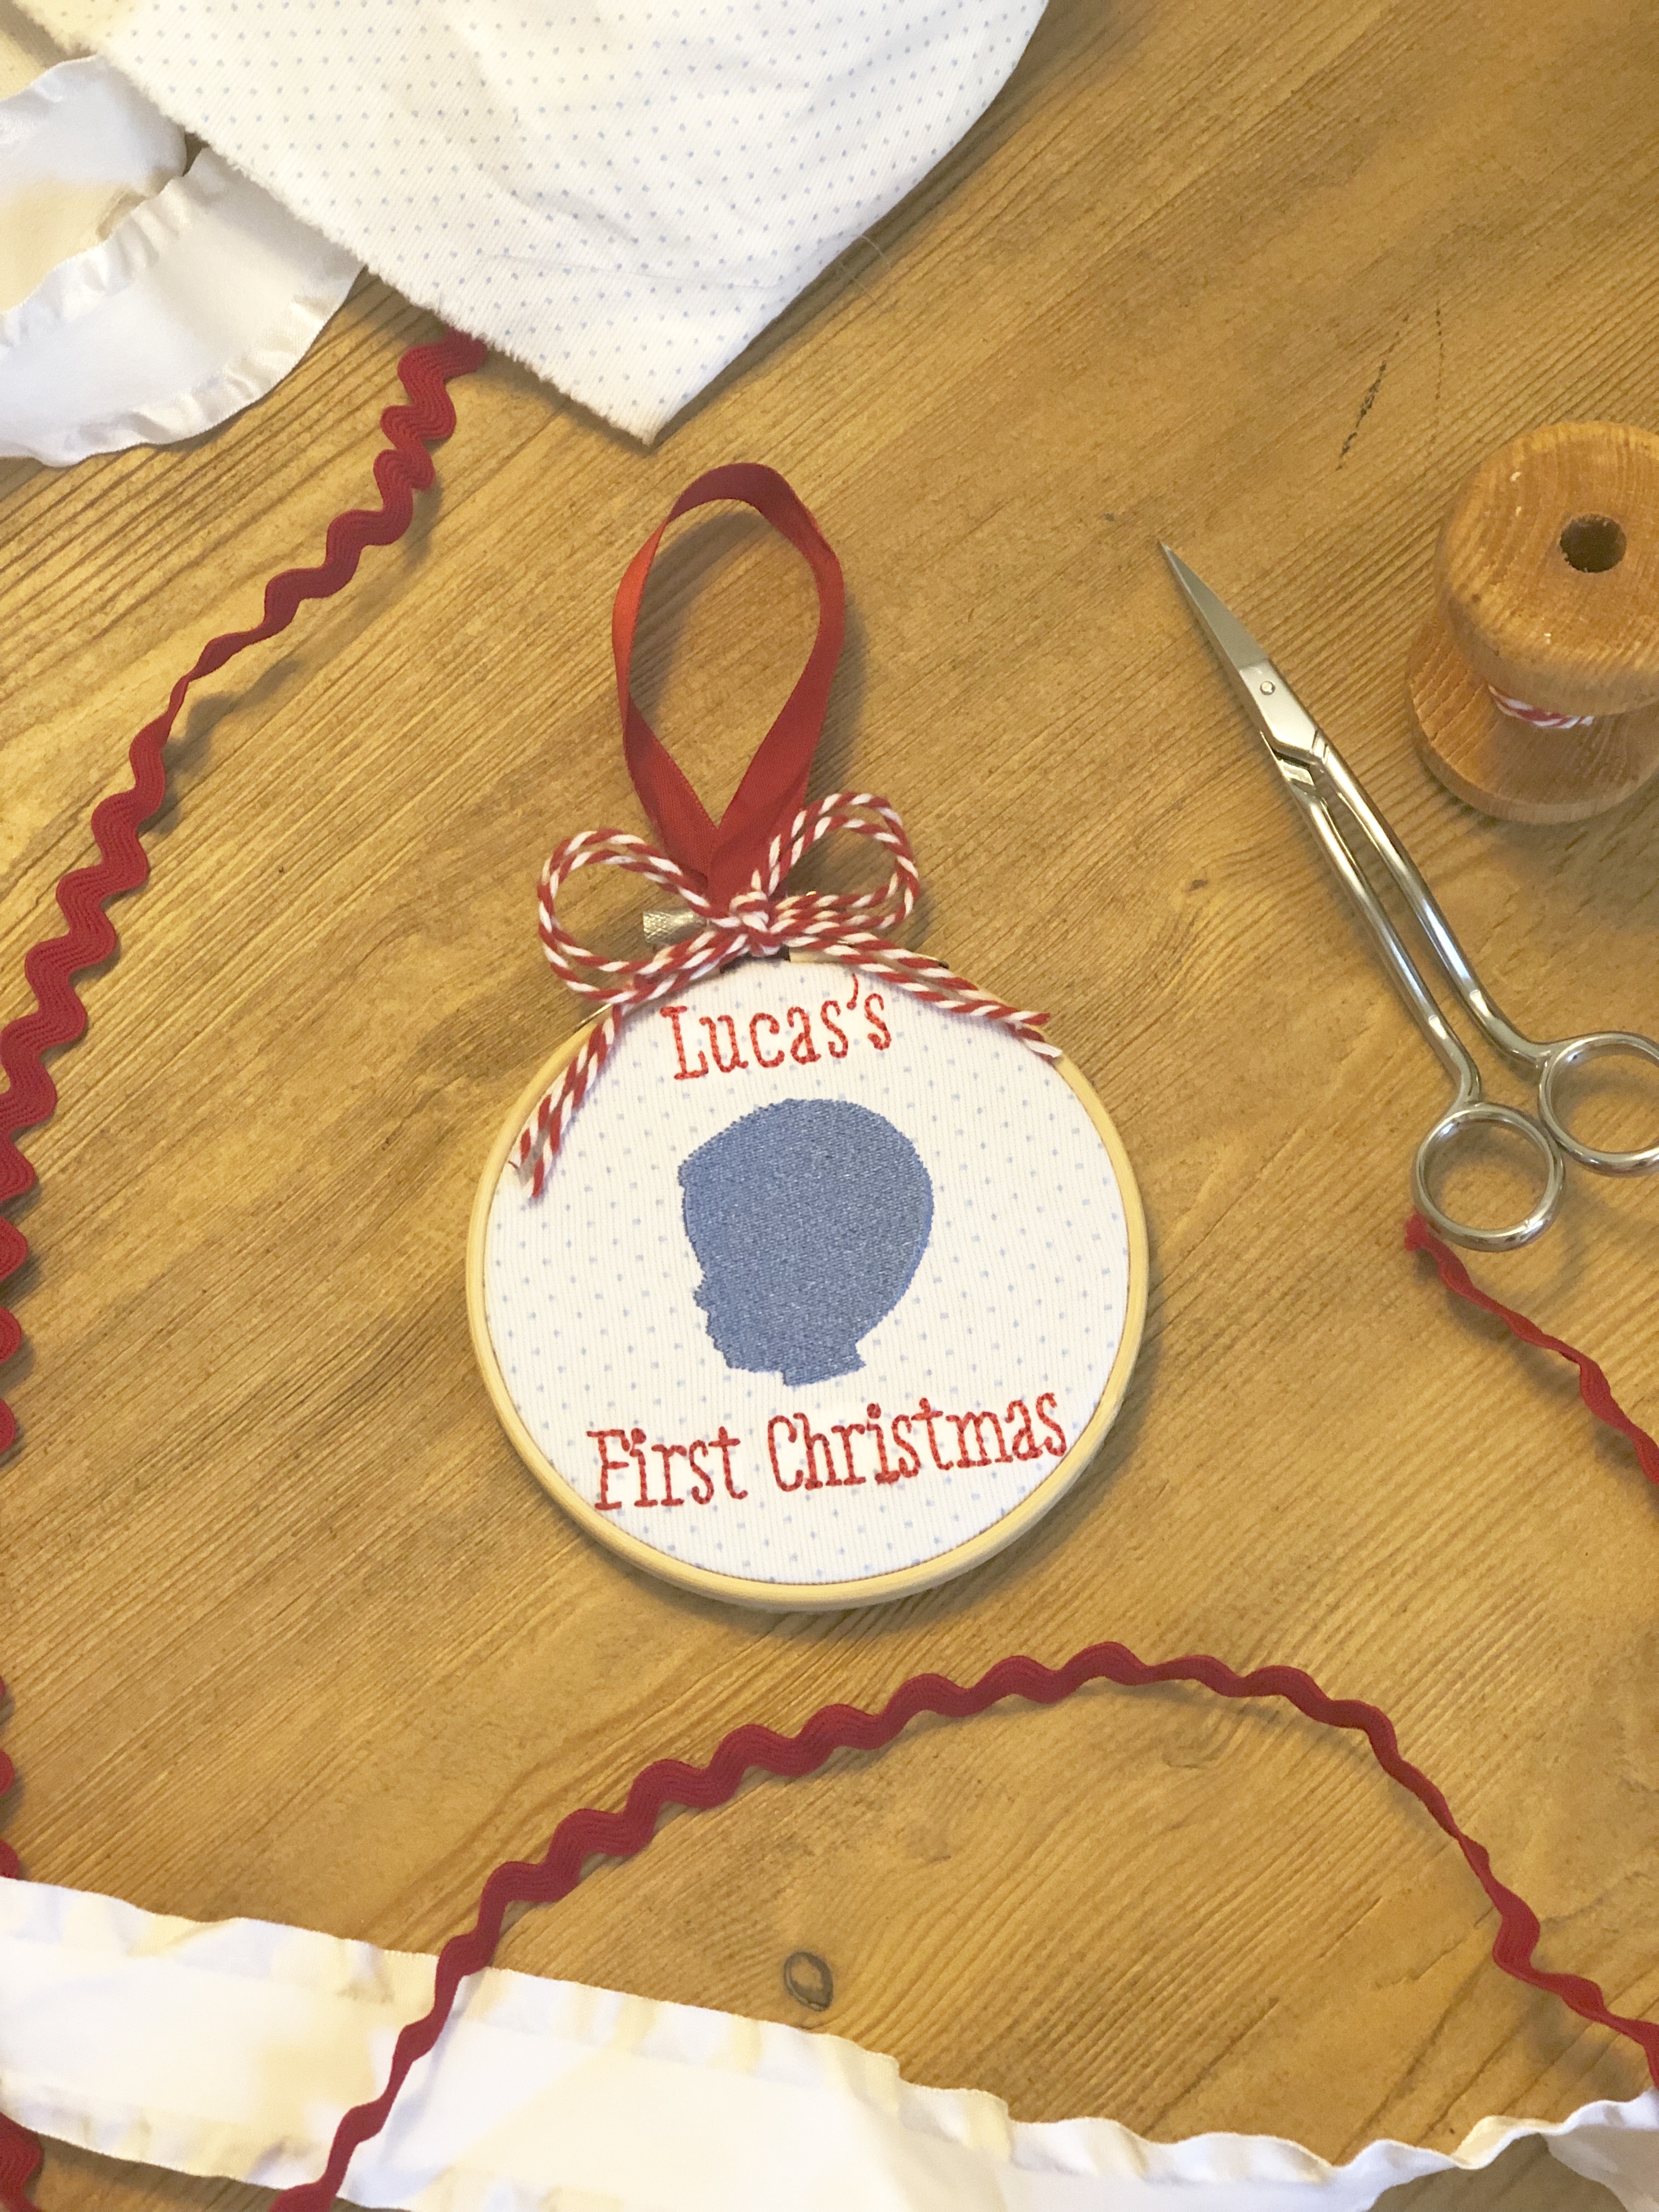
Make sure to check out our Mini Fill Stitch embroidery designs here for all the many designs that can be used on these precious ornaments!
Here are three more examples stitched by our TCA customer Yessica Robertson using TCA mini designs:
