
How to add a white background to sketch fill designs
Jul 4th 2023
Sketch fill designs gained popularity for not only being adorable but because of how quick they stitch! Sketch fill designs have decreased thread coverage which allows for whatever color the design is stitched on to peek through. Thus, sketch fill designs "pop" best with a white background. This tutorial will walk you step by step through how to add a white background behind sketch fill designs so they can be used on colored shirts too!
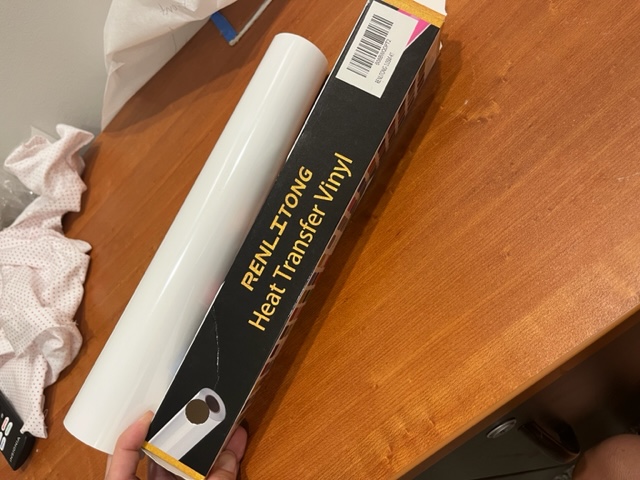
The white background that can be added behind sketch fill designs is white Heat Transfer Vinyl (HTV). I order my white HTV on Amazon here
STEP 1:
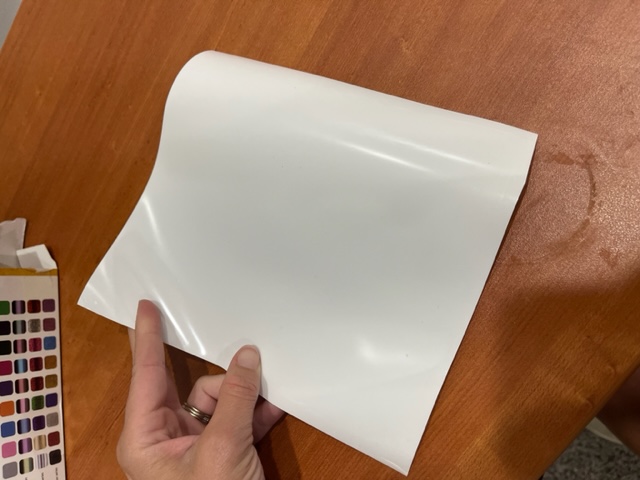
Measure your sketch fill design and cut a piece of HTV that is slightly bigger than the design you're stitching.
STEP 2:
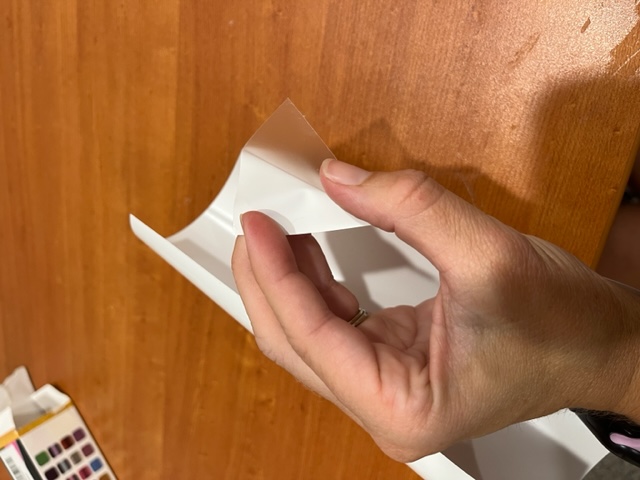
Each piece of HTV has a clear film that needs to be separated from the white vinyl. Pick at the corner of your cut piece of HTV until you're able to peel back the clear layer from the white vinyl.
STEP 3:
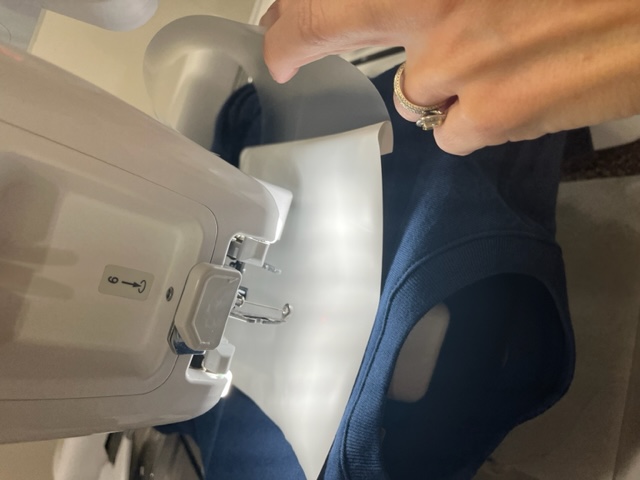
Here's an important step! As you remove the clear film, the side of the HTV that did *not* have the clear film attached to it touches the shirt surface. In the picture below, I tried to show exactly which side of the HTV touches the shirt. Again, is the side of the HTV that did not have clear film attached to it!
STEP 4:
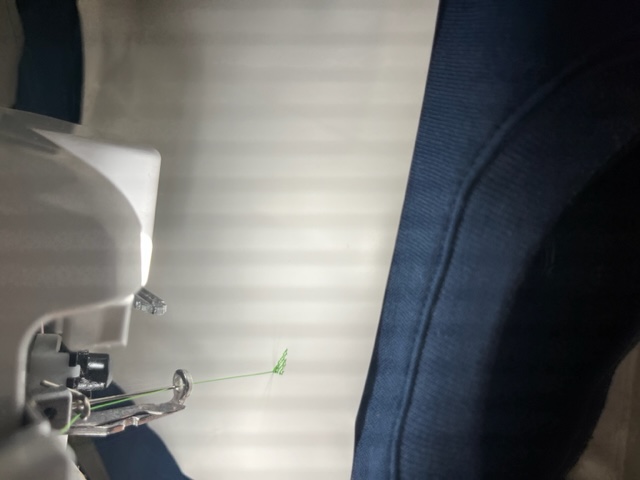
After you've taken the clear film off your HTV, you're ready to stitch your sketch fill design directly onto the HTV.
Begin stitching Stitch your entire sketch design onto the HTV
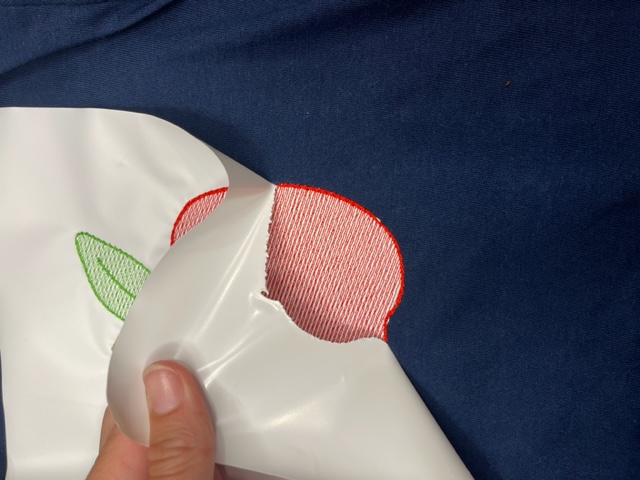
STEP 5:
After you've stitched your entire design onto the HTV, it's time to pull the HTV back. As the needle has stitched onto the HTV, it's essentially perforated the HTV and you can just pull it back from the design. *note, as you pull away the HTV, there may be some remnants left in smaller nooks and crannies. I use tweezers and snips to help get the remaining pieces off.*
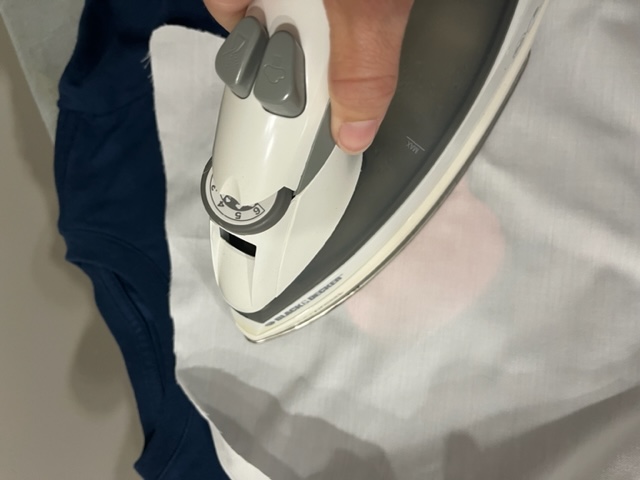
STEP 6:
After pulling away the HTV, the last step involves heating the HTV using a heat press or iron onto the shirt to ensure it washes well. Please consult the instructions of your HTV for exact heating temperatures/times. I would also suggest putting a piece of wax paper or another piece of thin fabric in between the finished stitch design and iron so that the thread doesn't happen to melt by chance.
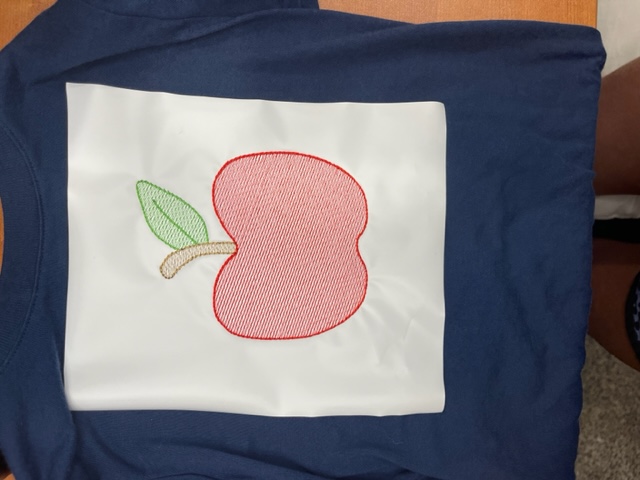
And then, you're done!! Adding white HTV behind a sketch design elevates the design to make it "pop" with rich colors on any type of background!
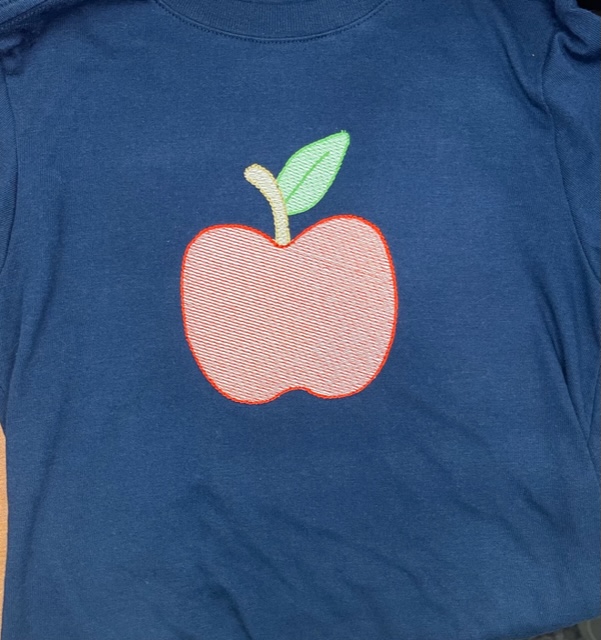
We have tons of sketch fill designs that we'd love to have you look through to try and check out this new technique!